

Search, Filter, Edit & Delete Branches
This guide covers daily maintenance workflows for your branch records: searching, advanced province filtering, updating branch information, retrieving dedicated Customer Links, and deleting branches.
1. Search & Filtering
1.1 Keyword Search
- Type the branch name in the "Search branch name" input field.
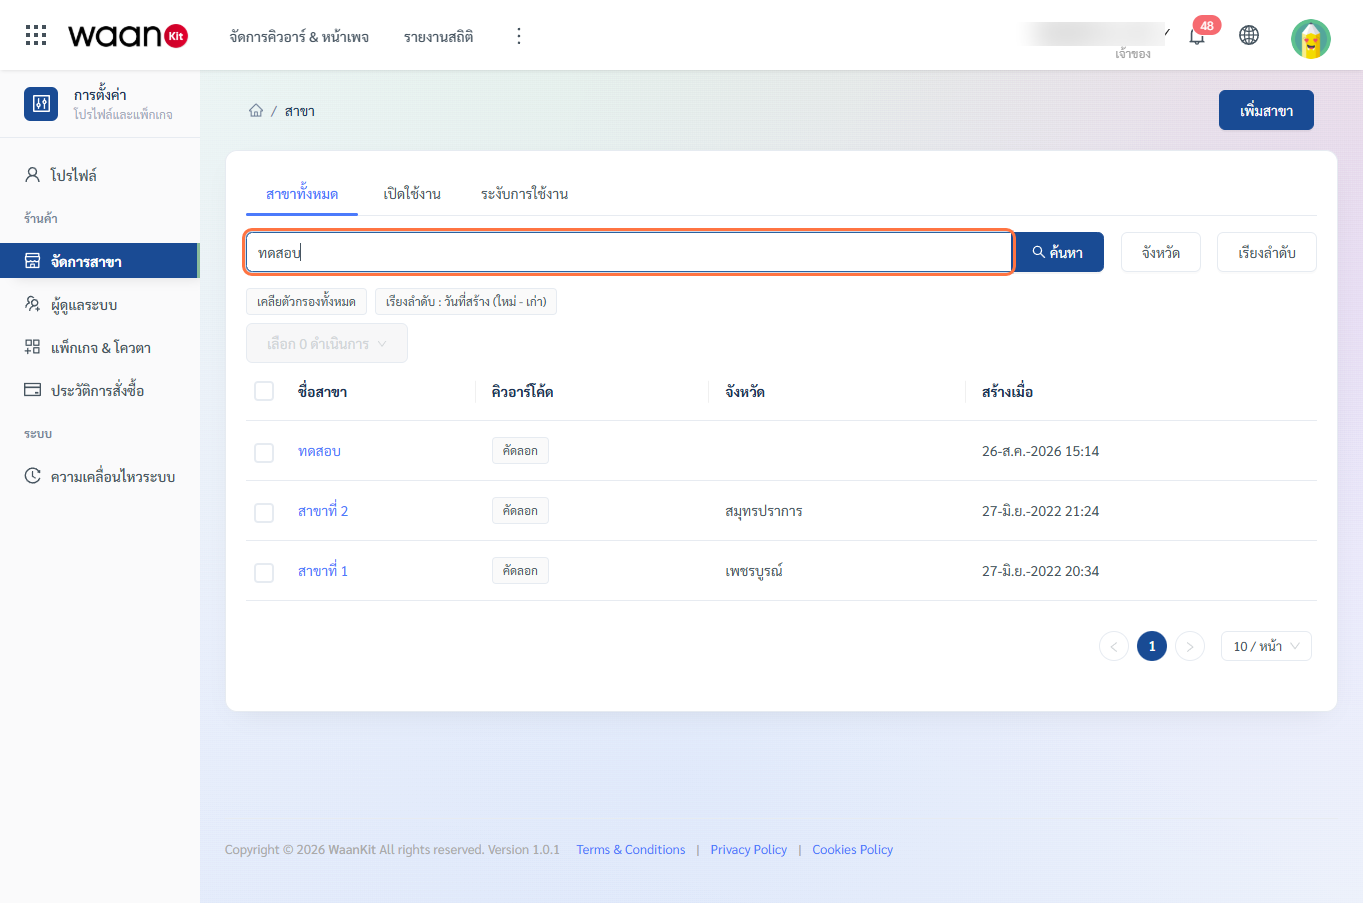
- Press
Enteror click Search.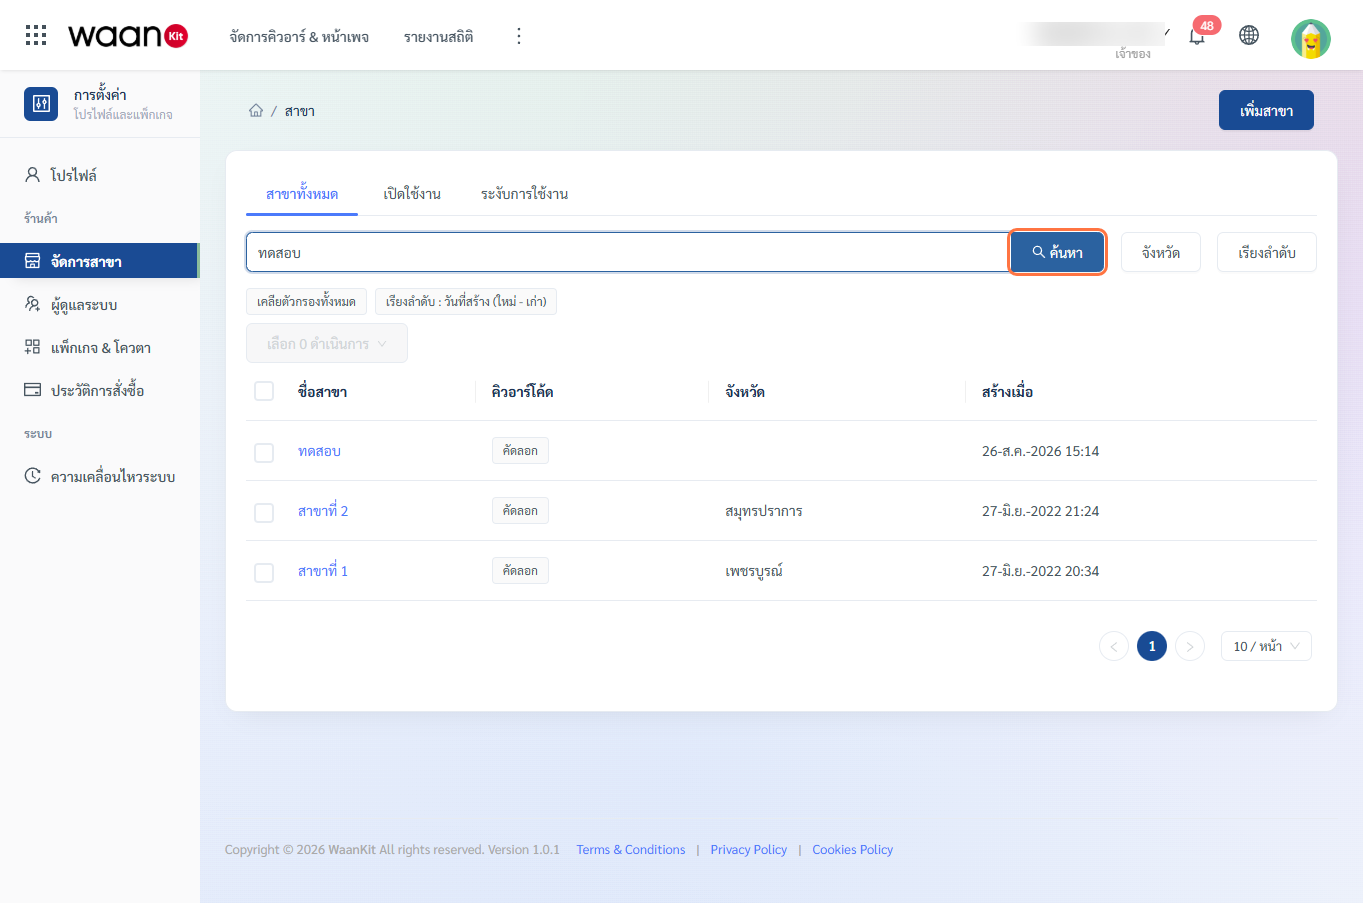
- A search tag will appear below the input field. Click the
✕icon on the tag to remove the search term and reset the table.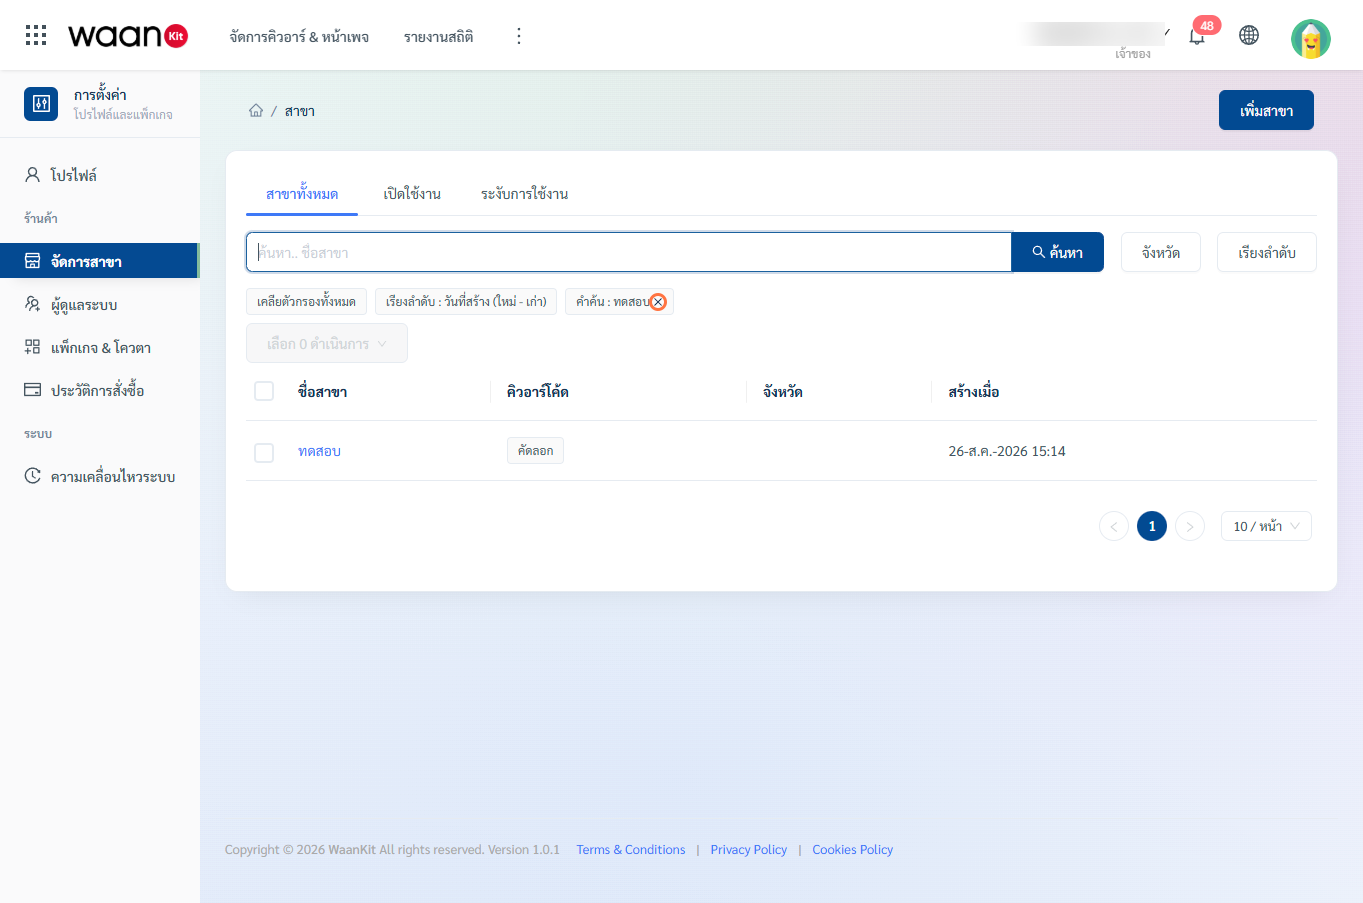
1.2 Multi-Province Filter Drawer
If your brand operates across many locations, use the Province Filter side drawer:
- Click the "Filter" (Province) button above the table to open the 520px side drawer.
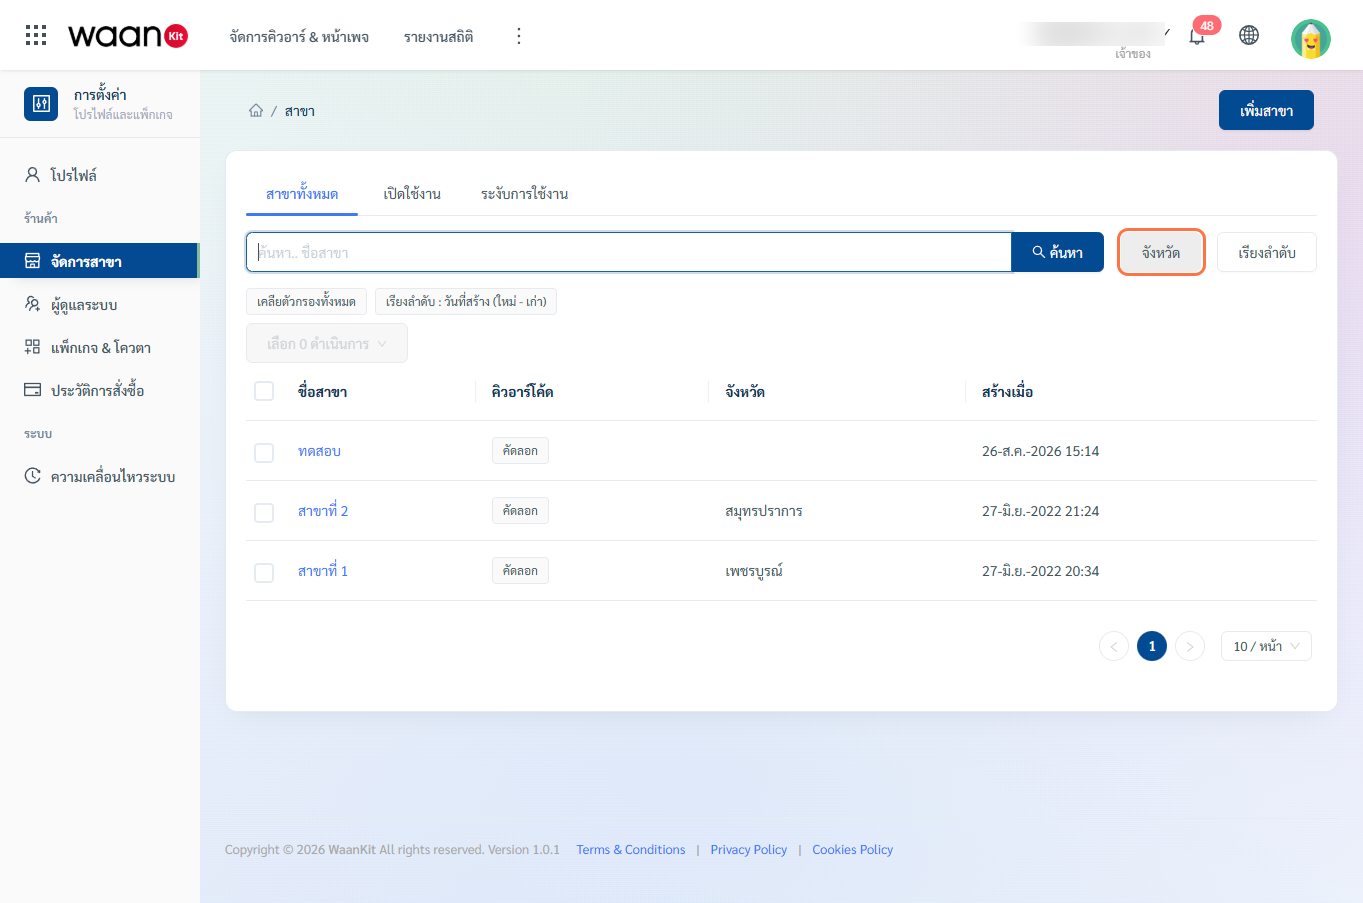
- Type the province name in the drawer input field.
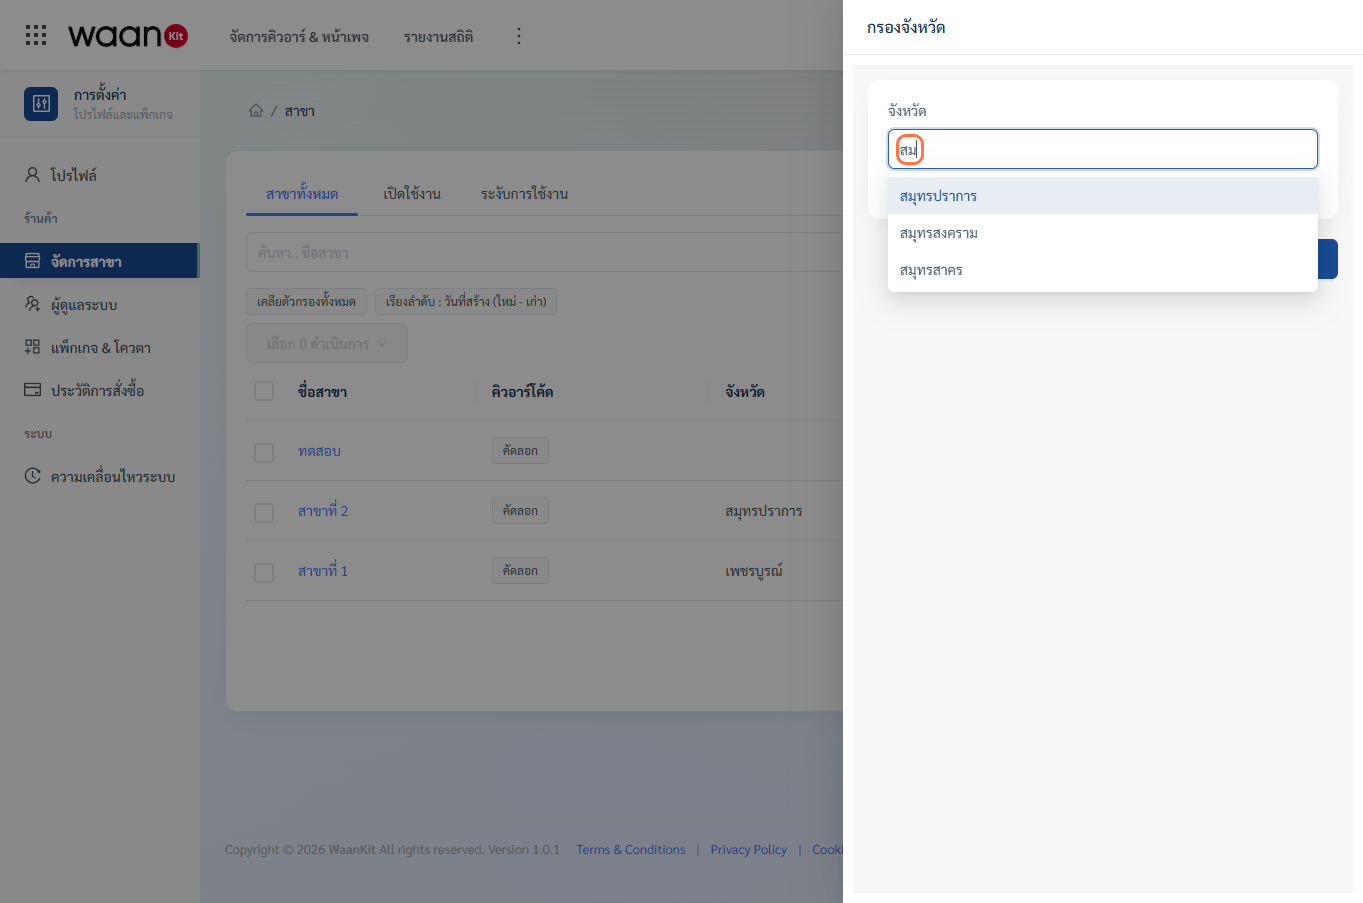
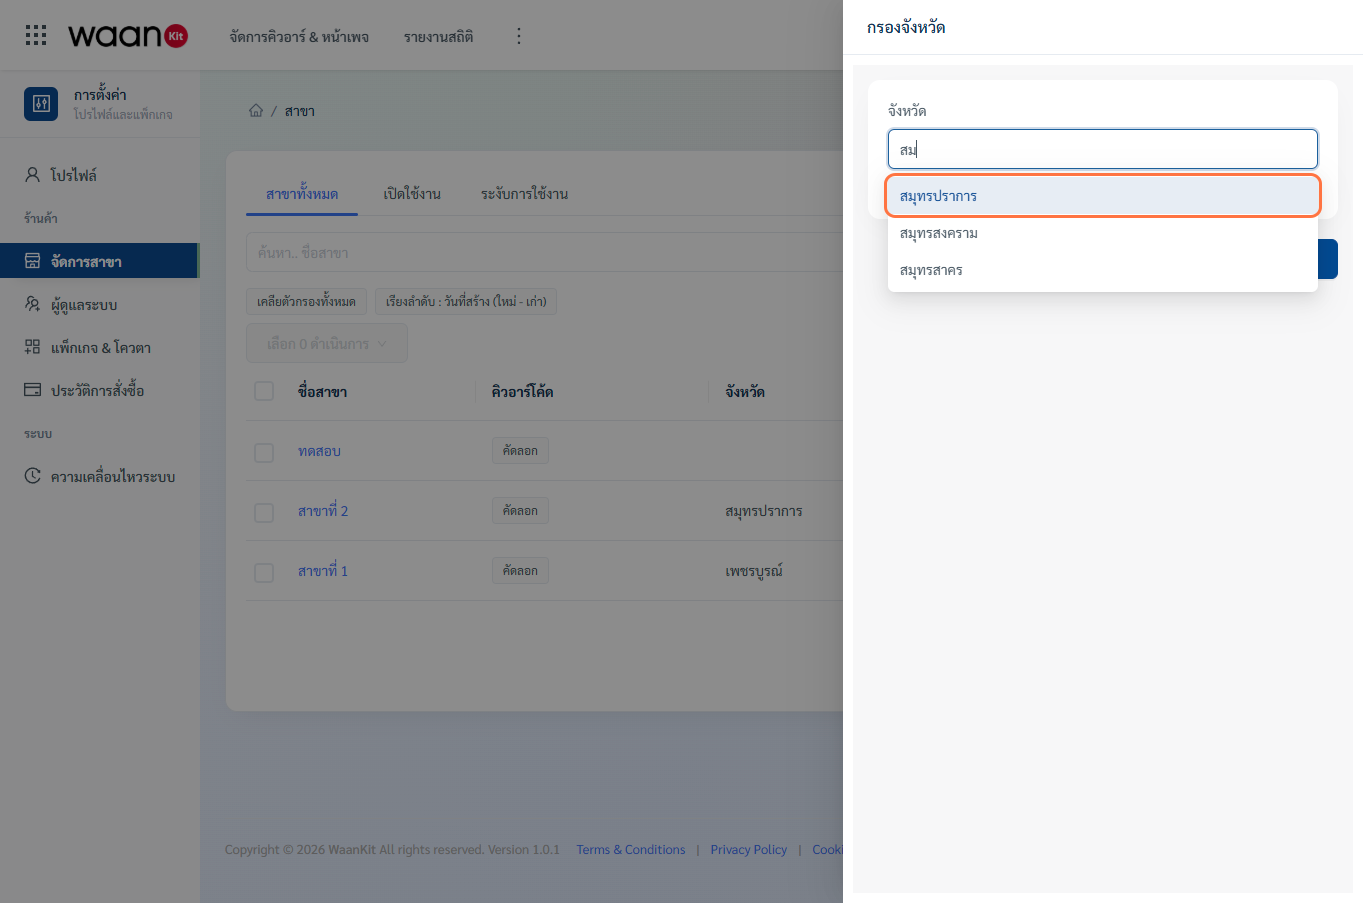
- Select up to 5 provinces from the dropdown list.
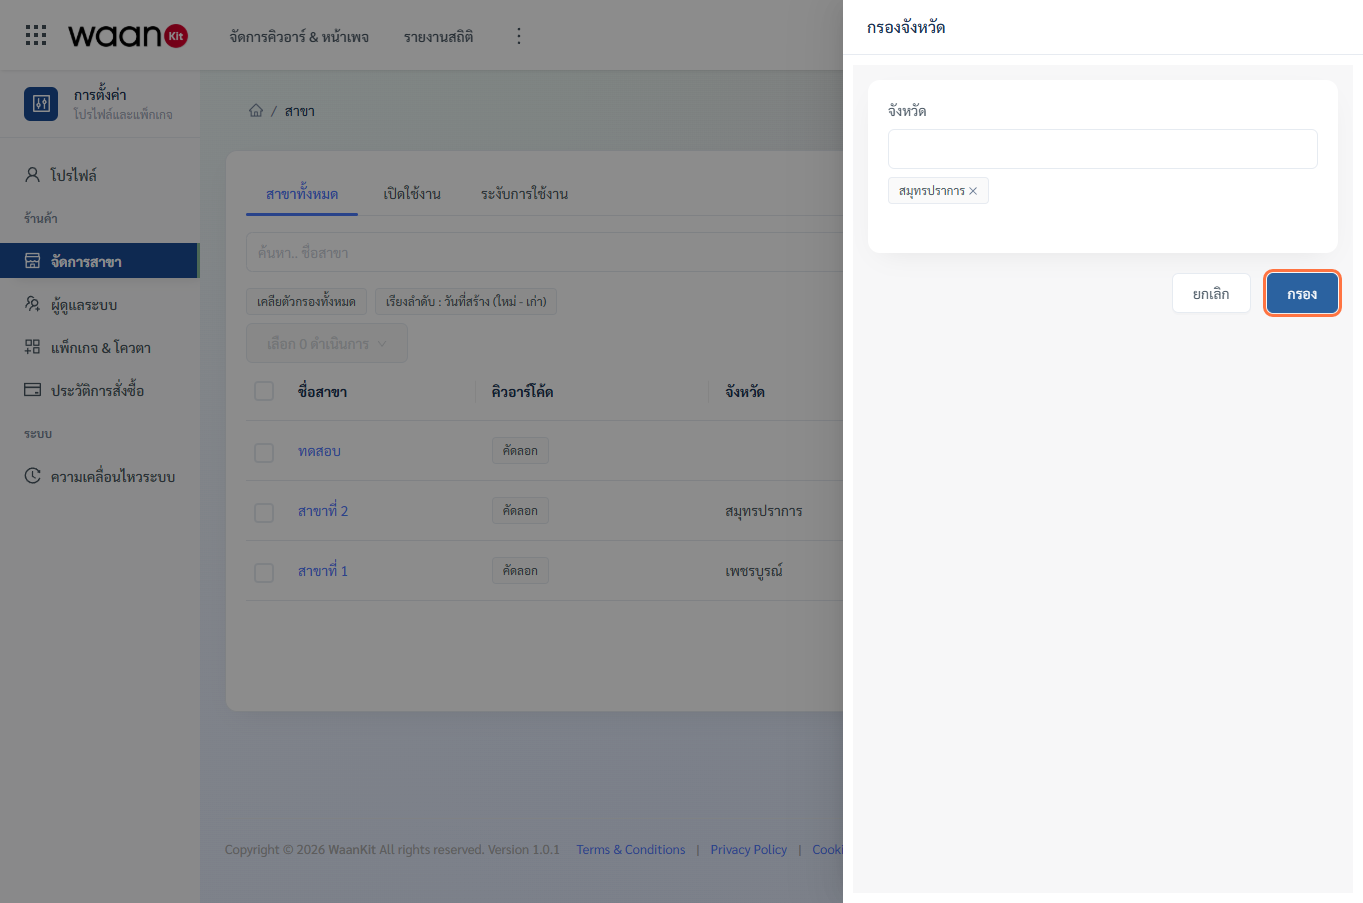
- Click "Filter" to apply your selection.
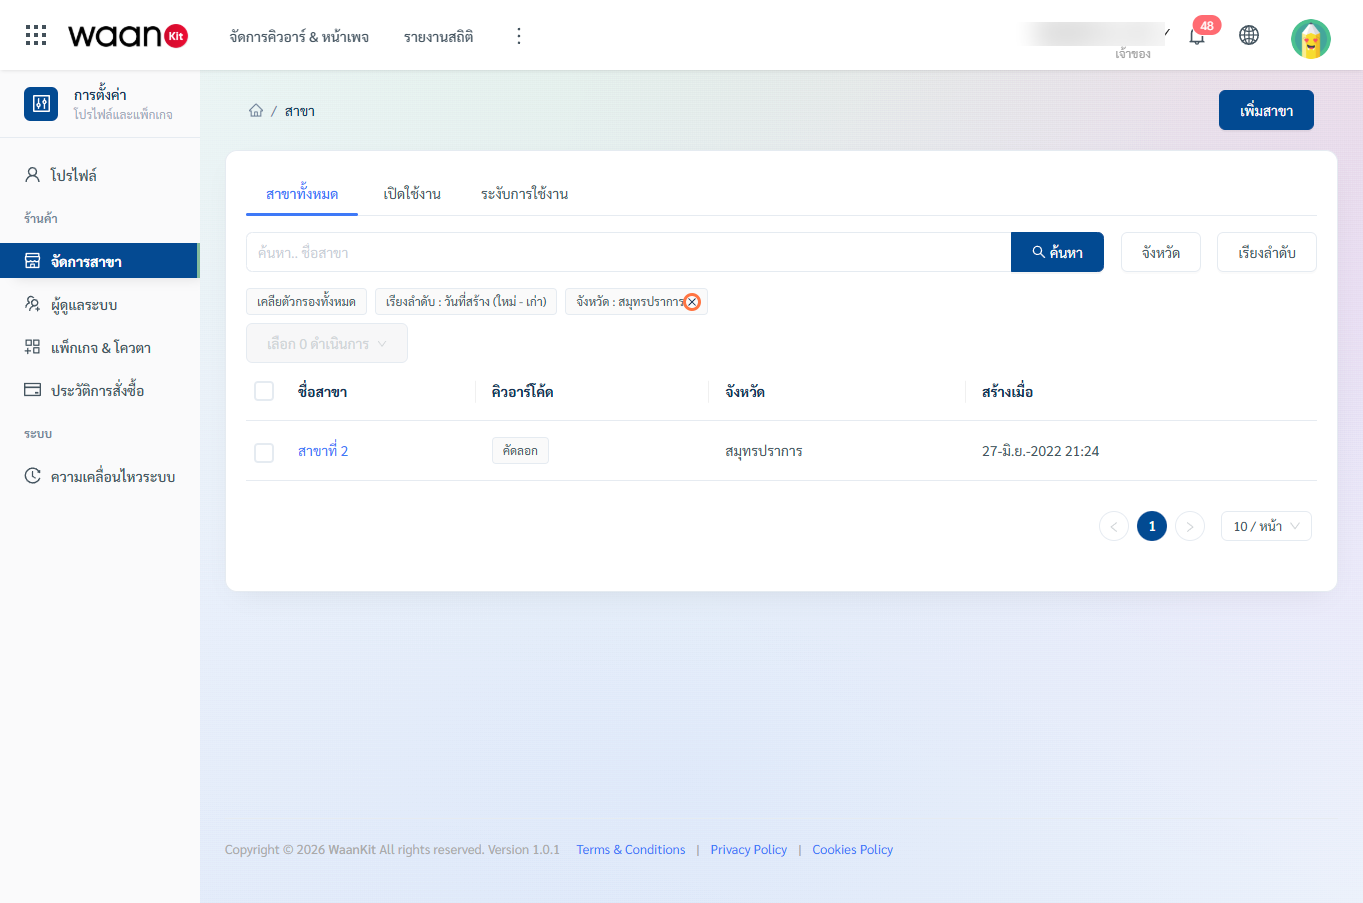
- The table refreshes instantly with a removable province tag below the search bar.
1.3 Status Tabs
Filter branches by operational status using the 3 tabs:
- All Branches: Shows all locations regardless of status.
- Enabled: Filter actively open branches (
status = true).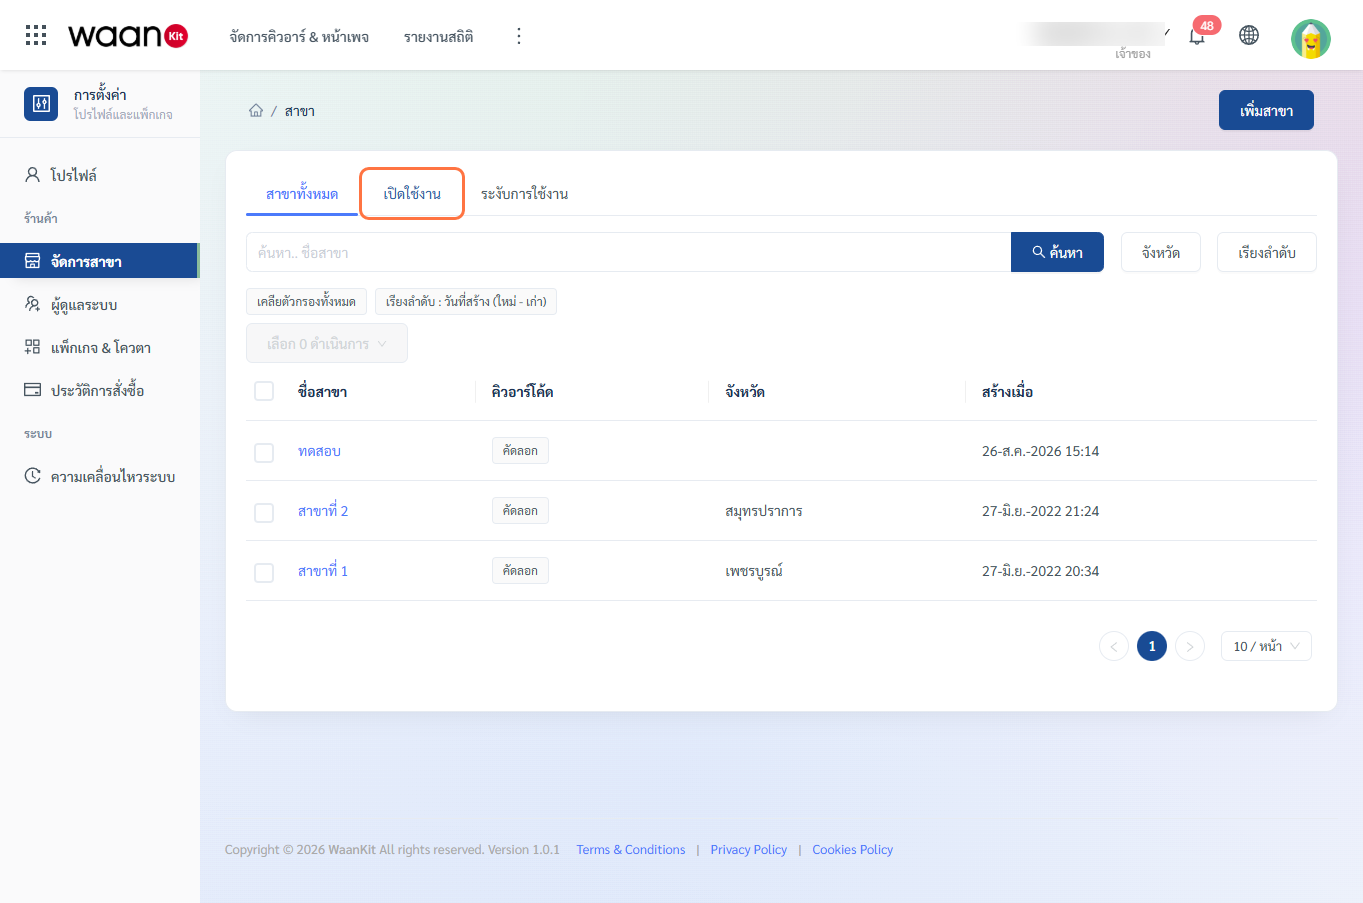
- Suspended: Filter temporarily closed or inactive branches (
status = false).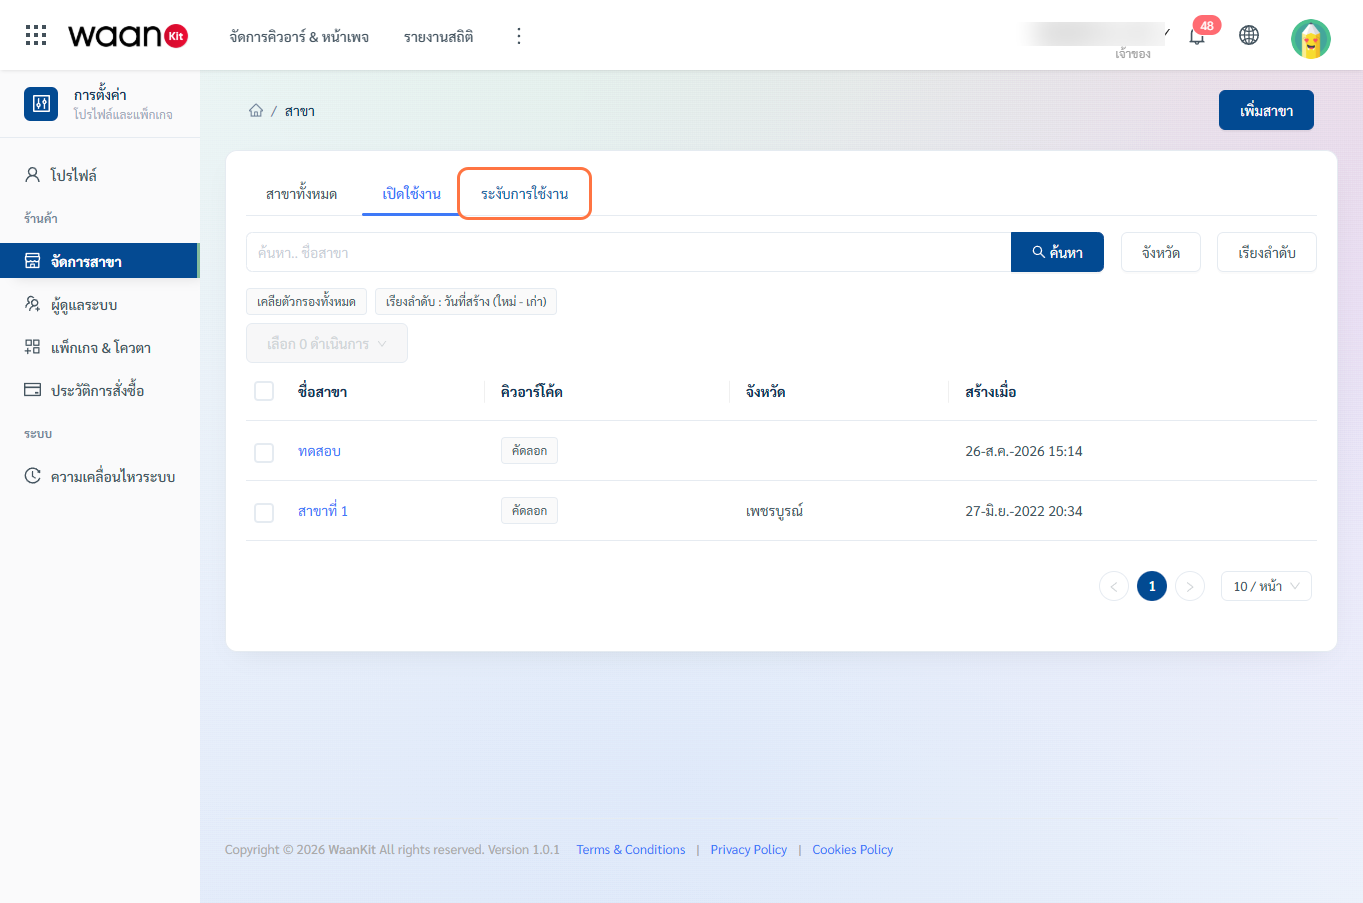
1.4 Sorting
Click the "Sort By" dropdown menu to switch sort order:
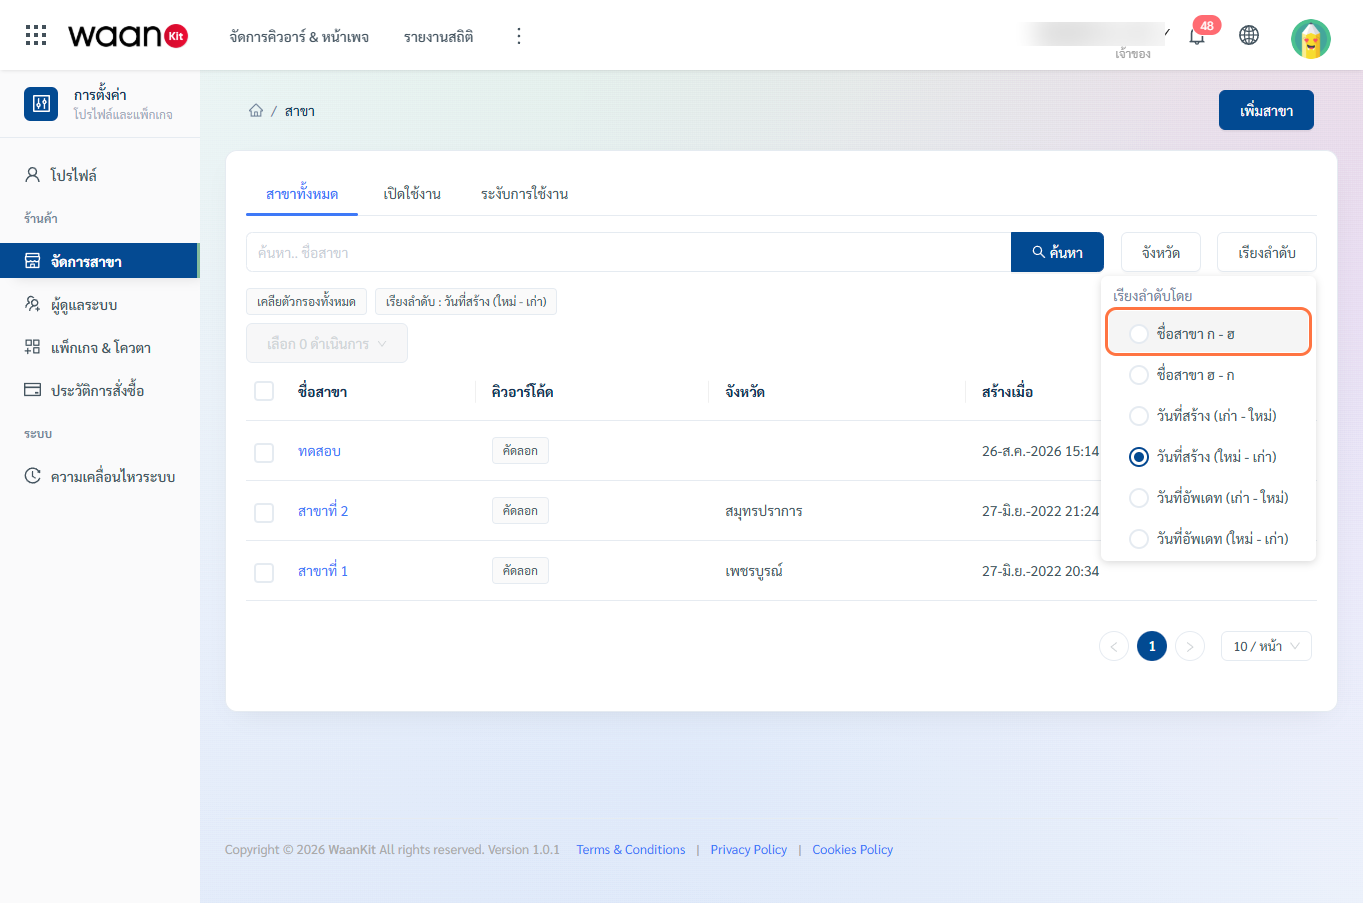
- Created Date (Newest to Oldest): Default view.
- Created Date (Oldest to Newest).
- Branch Name (A to Z / Z to A).
- Updated Date (Newest to Oldest / Oldest to Newest).
1.5 Clear Filters
Click "Clear Filter" or click the ✕ icon on any active filter tag to reset search, province filters, and sorting to default.
2. Editing Branches & Customer Links
Steps to Edit a Branch:
- In the branch table, click any Branch Name to open the Edit Branch page (
/app/setting-shop/branch/edit-branch/:id).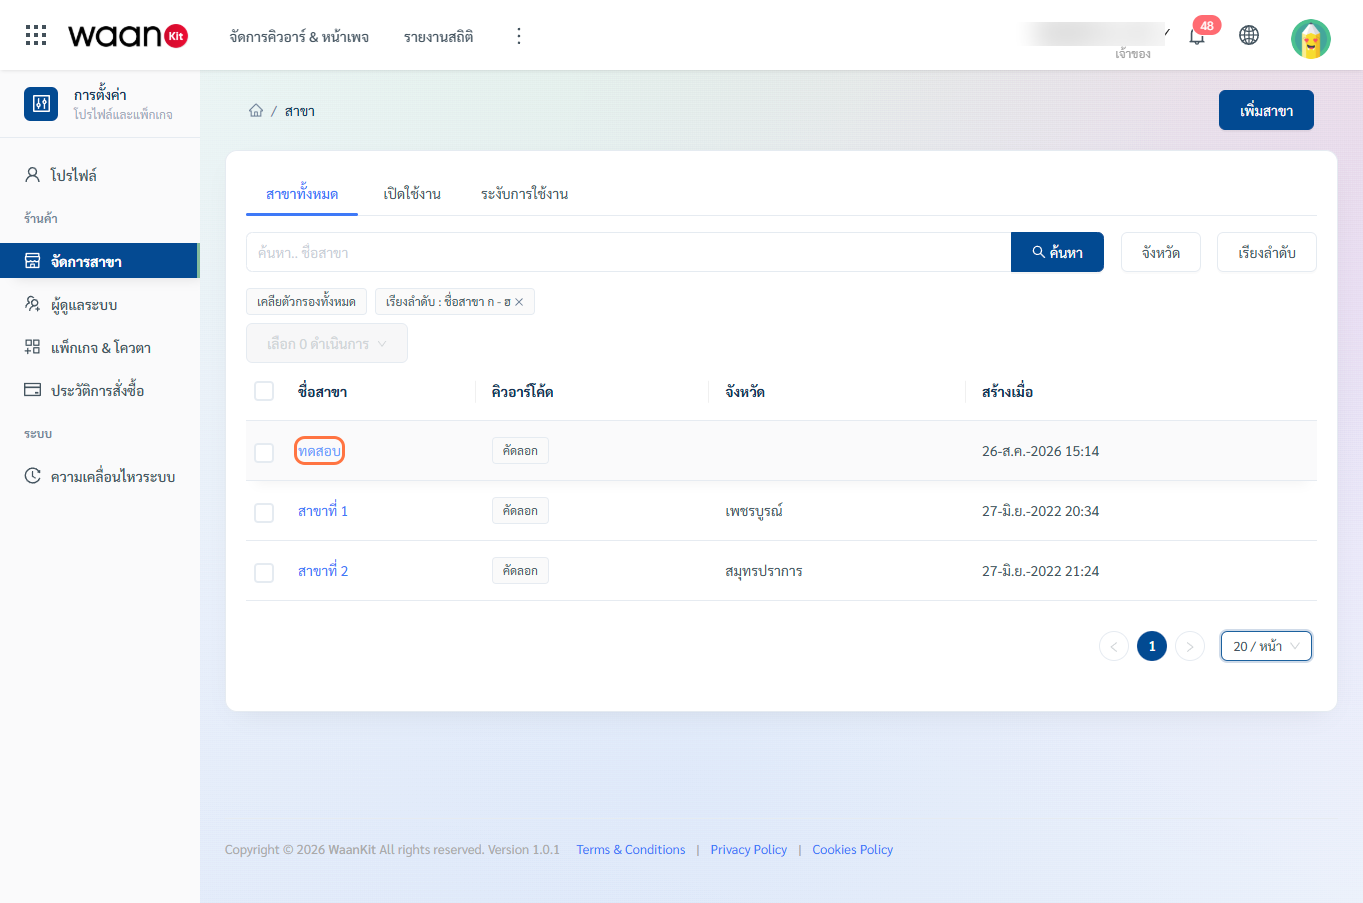
- In the Edit page, you can modify the branch status toggle, branch name, code, or province:
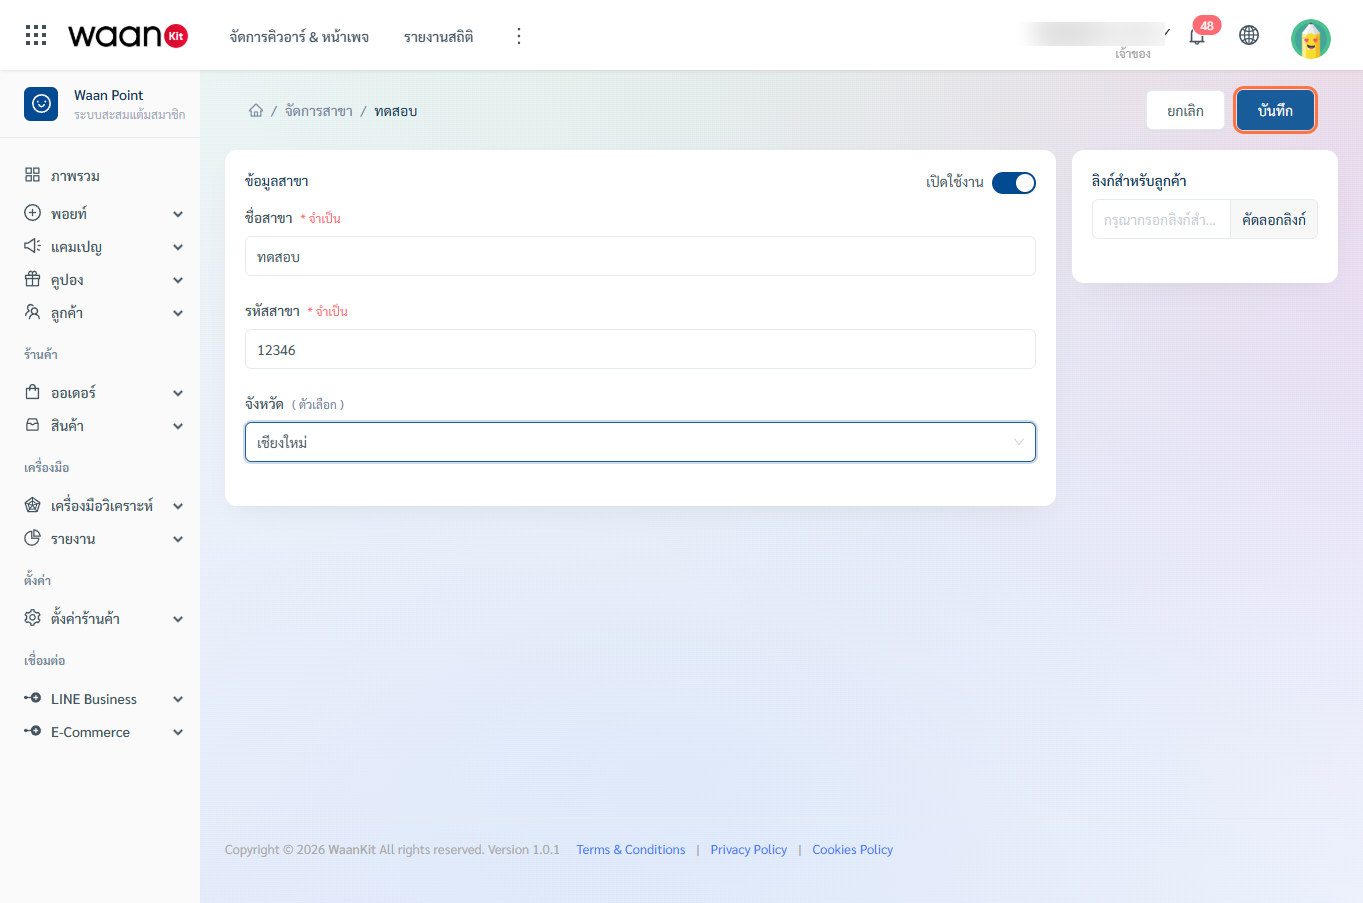
- Branch Code:
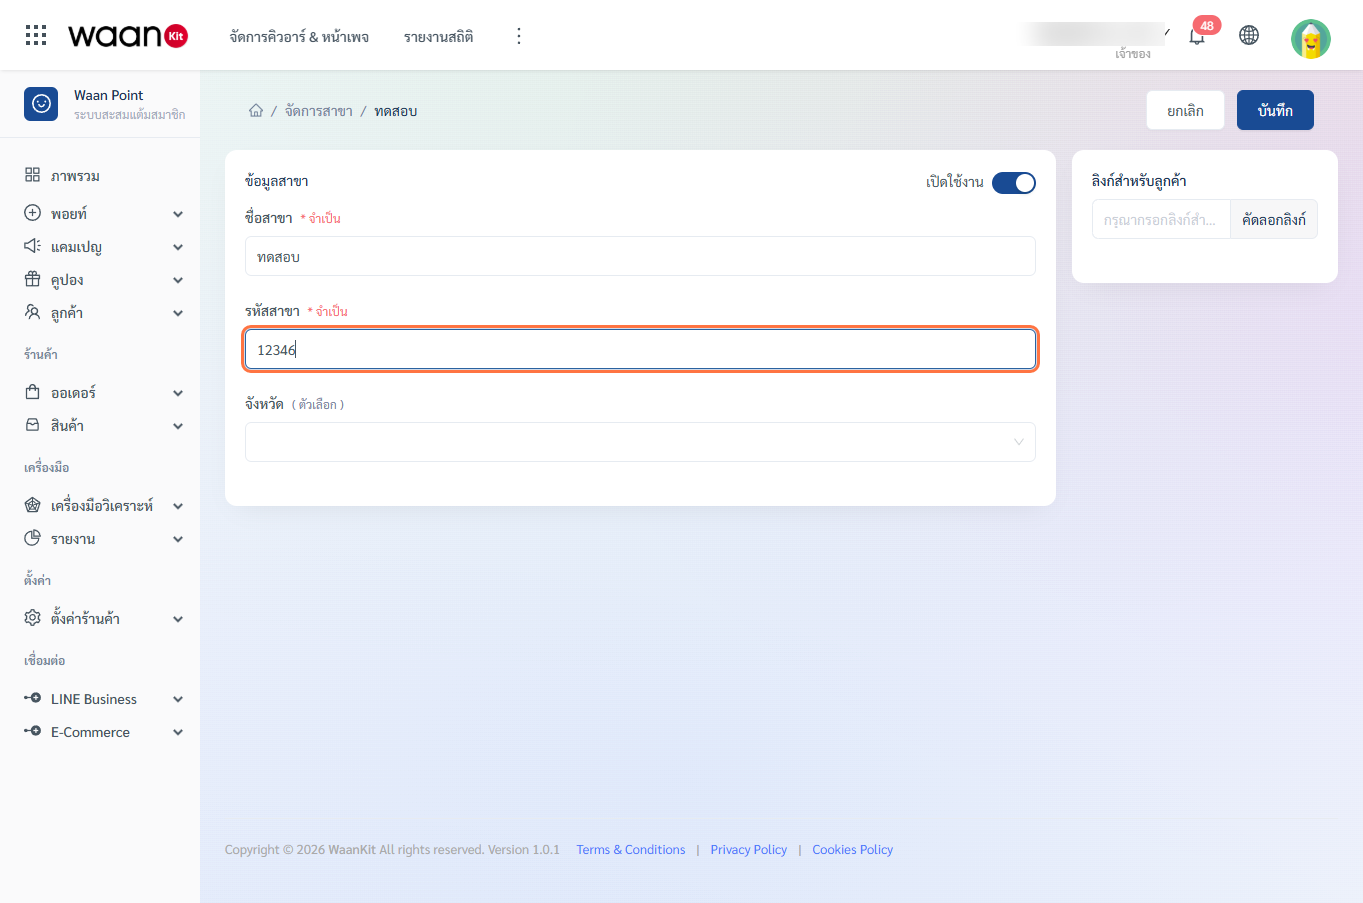
- Province:
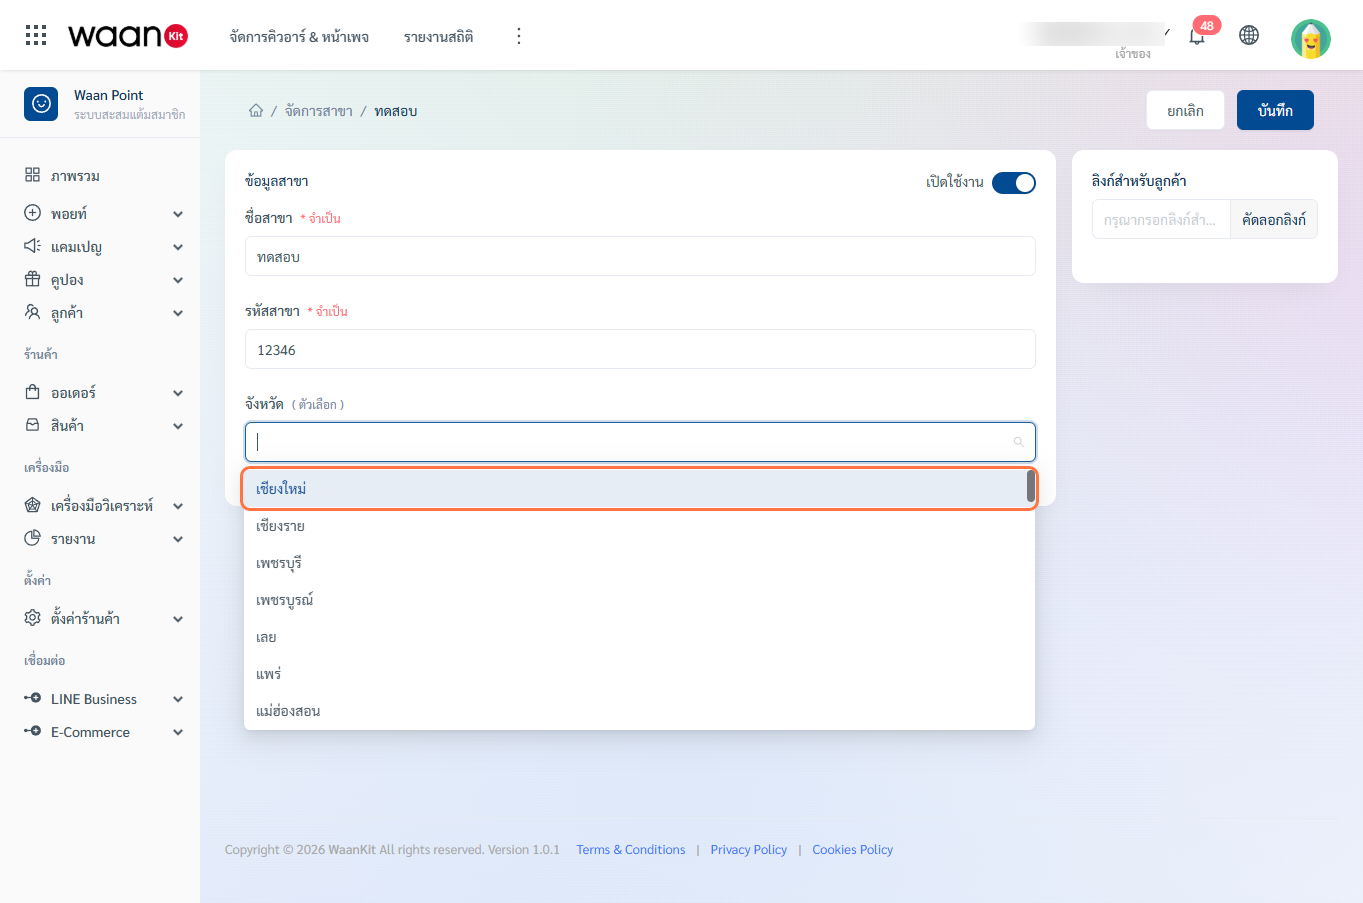
- Branch Code:
- Customer Feedback Link: Copy the dedicated branch URL on the right card to embed into Dynamic QR Codes or printed table tents.
- Save Changes: Click "Save" and confirm in the popconfirm dialog:
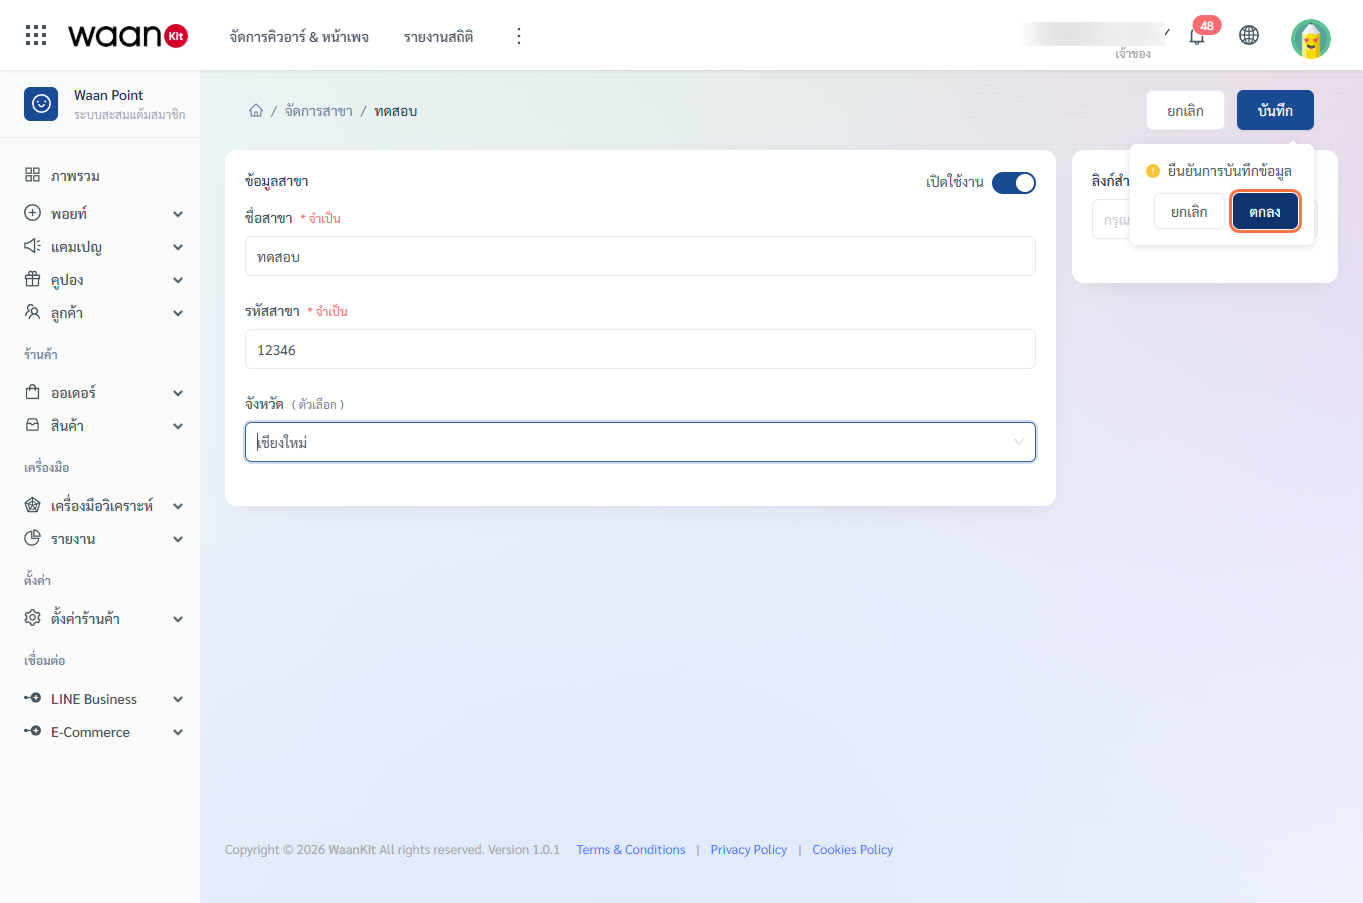
- Upon saving, a green notification banner (
"Edit Success") confirms the changes: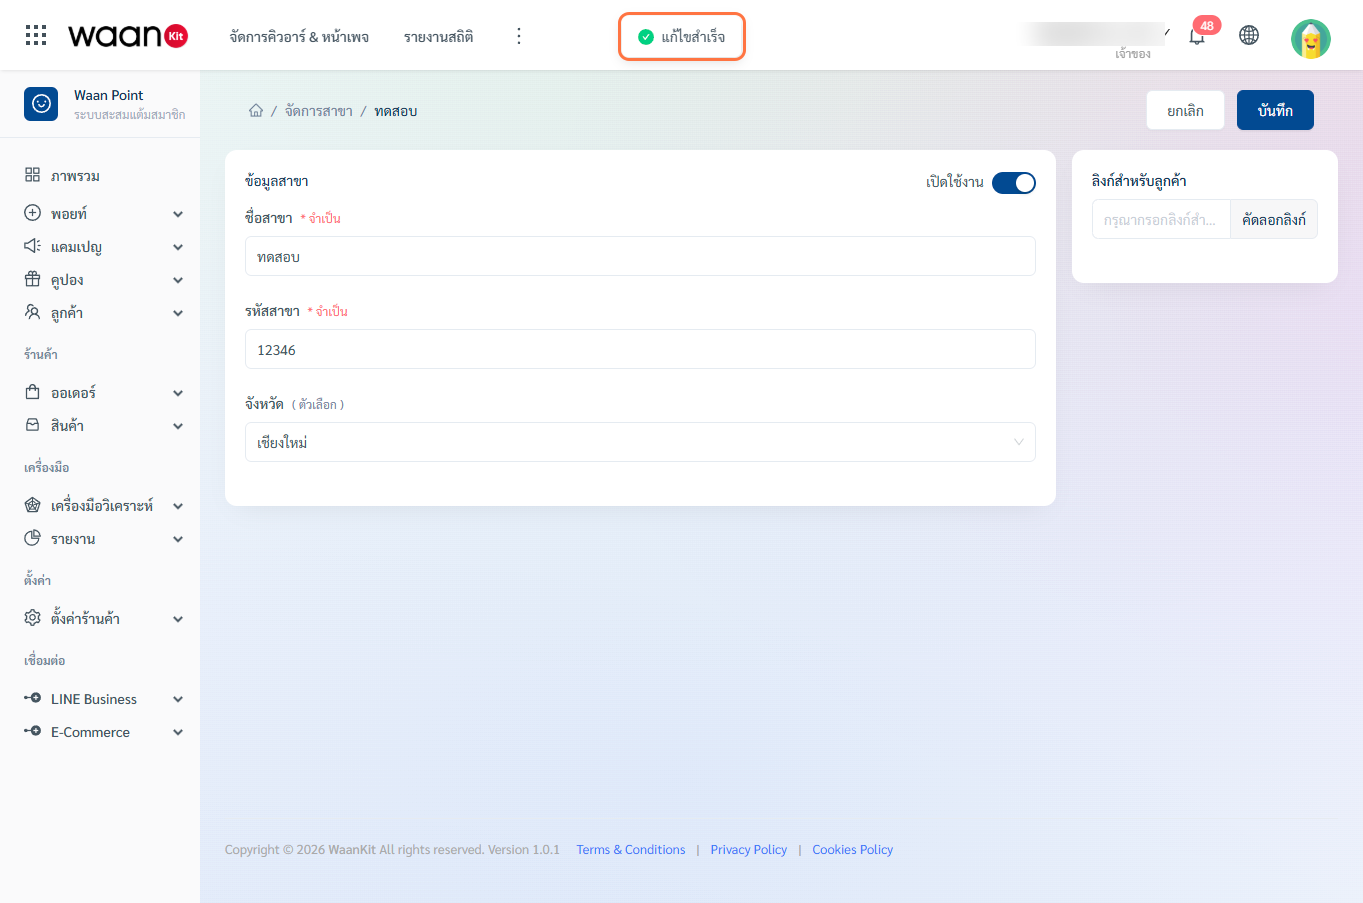
3. Deleting Branches (Single & Bulk Delete)
WaanKit supports both single and bulk deletion with safety confirmation:
- Select Branches: Check the checkbox next to the branch name(s) you wish to delete:
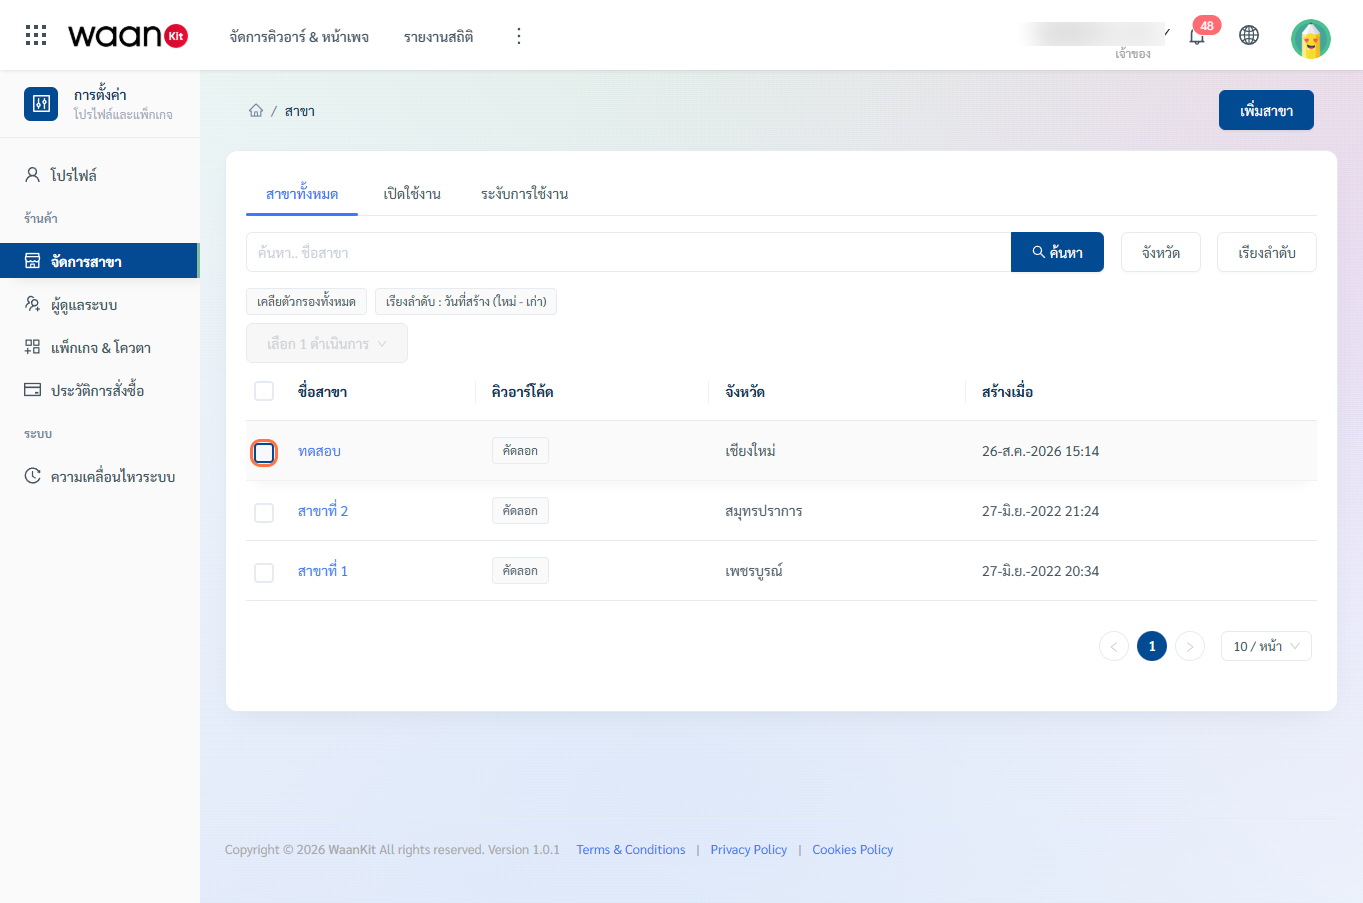
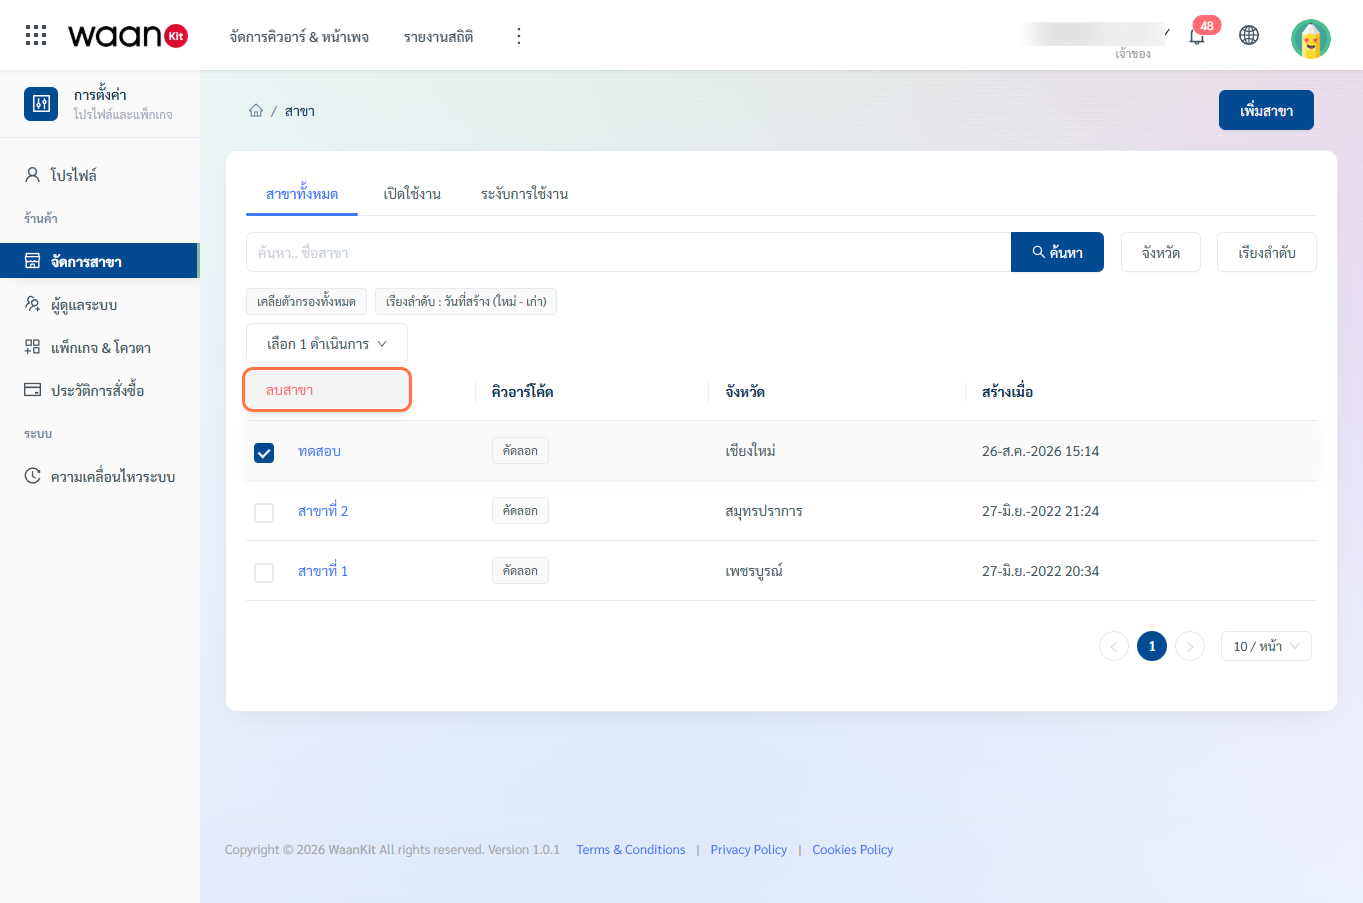
- Click Delete Button: Click the red "Delete Selected" button:
- Confirm Deletion: In the popconfirm dialog, click "OK":
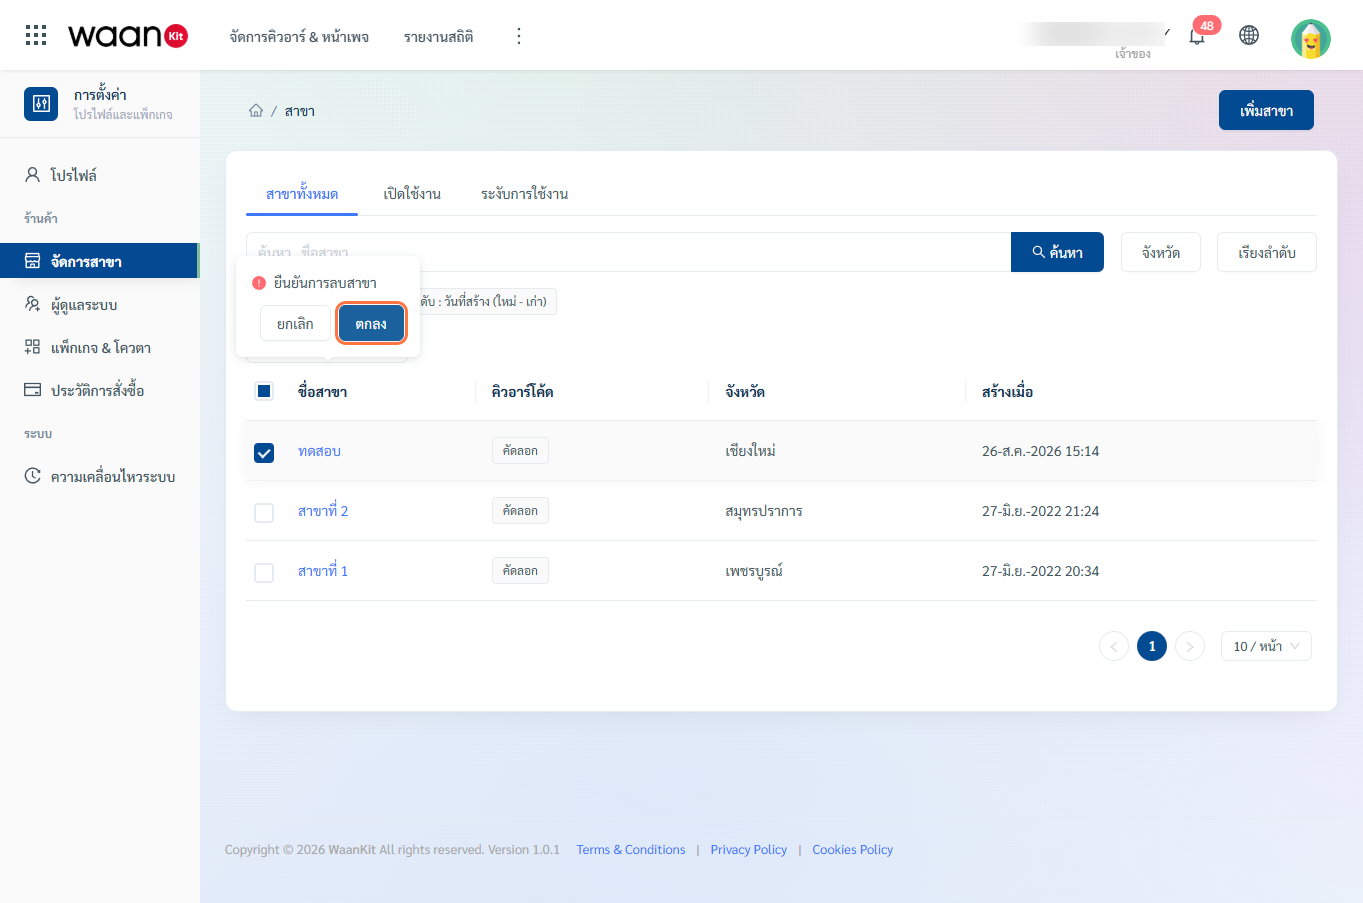
- Result: The branches are deleted immediately, accompanied by a green
"Delete Success"toast banner: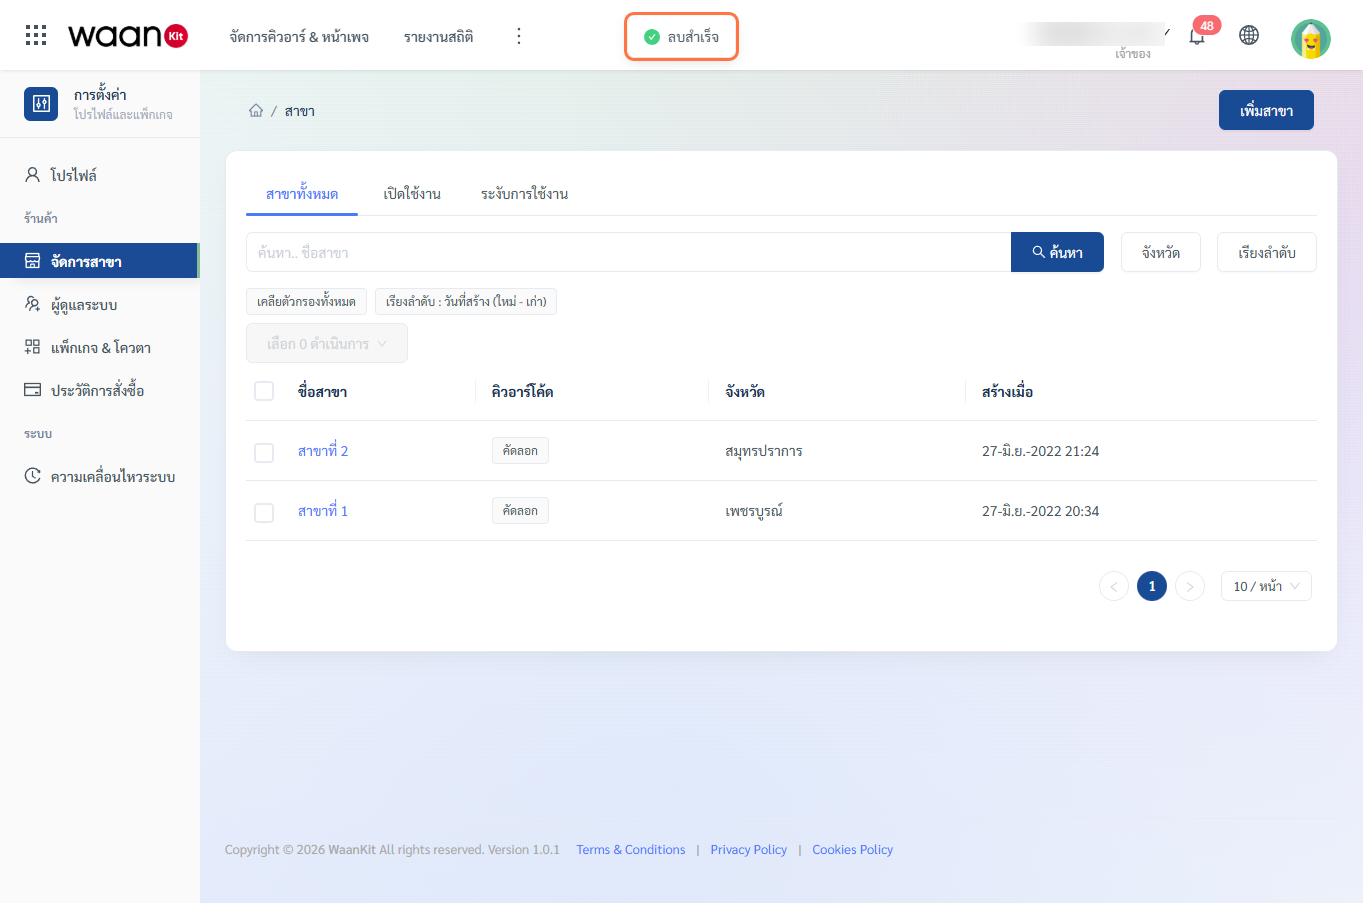
Important Notice for Branch Deletion
[!WARNING] Impact on QR Codes and Forms: If you delete a branch that is already linked to a Customer Link or Dynamic QR Code, those links will no longer track analytics under that branch code. Please verify before proceeding with deletion.