Packages & Resource Quotas
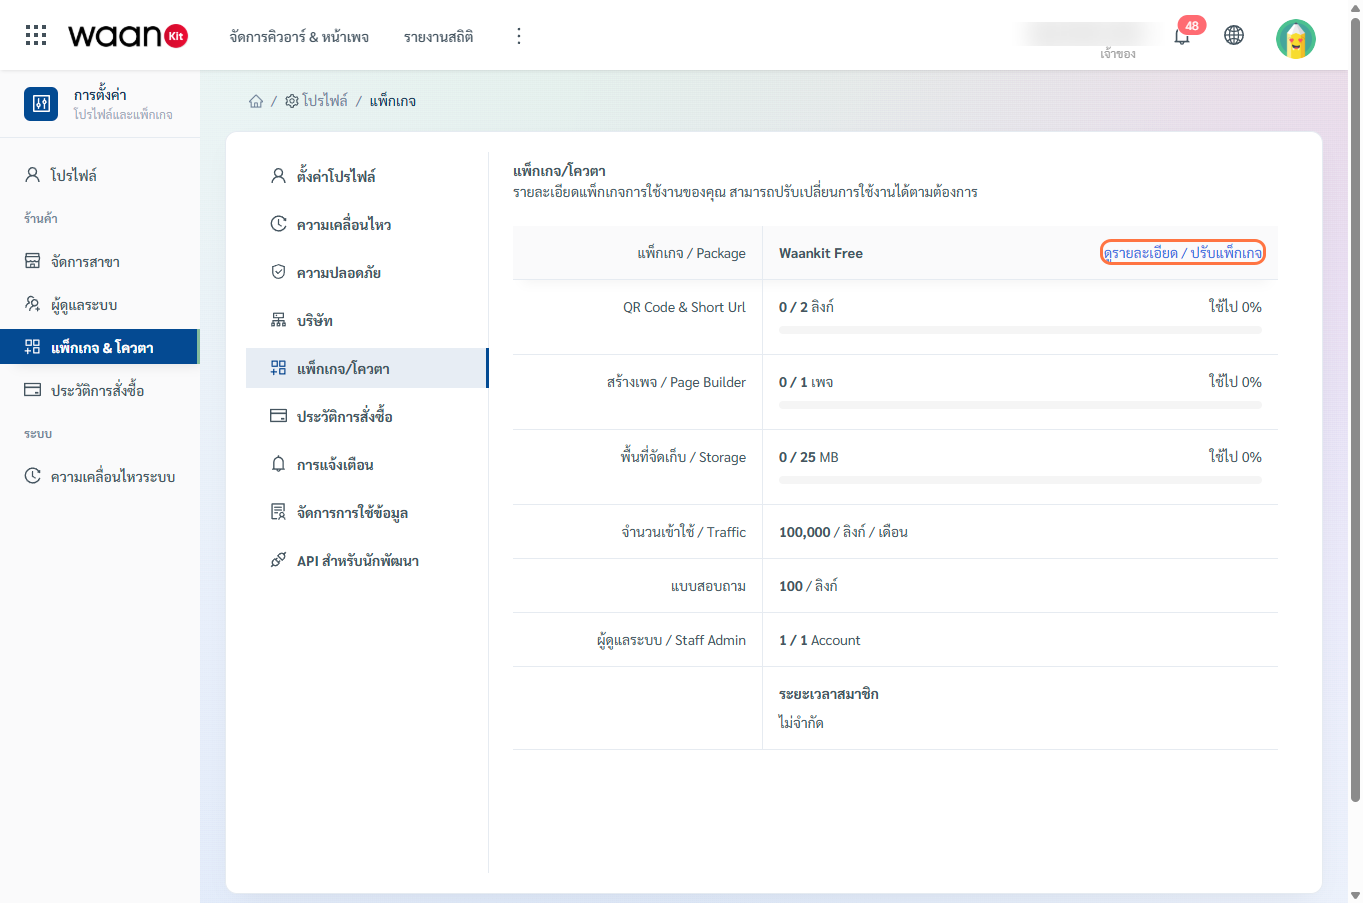
The Package / Quota page (/app/profile/package) provides an overview of your organization's active resource utilization against the tier limits of your subscription plan, allowing you to effectively monitor capacity.
1. Monitoring Resource Limits
Your dashboard tracks 7 key resource metrics with visual progress indicators:
| Resource Metric | Description | Free Tier Example |
|---|---|---|
| QR Code & Short Url | Total Dynamic QR Codes and short links created | 0 / 2 Links |
| Page Builder | Published landing pages and custom microsites | 0 / 1 Page |
| Storage Capacity | Cloud media storage used for images and assets | 0 / 25 MB |
| Traffic Bandwidth | Monthly scan views and redirection events per link | 100,000 / link / month |
| Survey Responses | Maximum survey form feedback per link | 100 / link |
| Staff Admins | Team members and administrators allowed | 1 / 1 Account |
| Subscription Duration | Plan validity or renewal cycle | Unlimited / By Contract |
2. How to Purchase or Upgrade a Plan
When your operations require higher capacity, you can upgrade your plan in three simple steps:
Step 1: Open the Plan Selection Drawer
- On the Package / Quota page, click the blue "View Details / Adjust Package" button.
- The "Change Package" side drawer will open, showcasing Starter, Pro, and Business tiers.
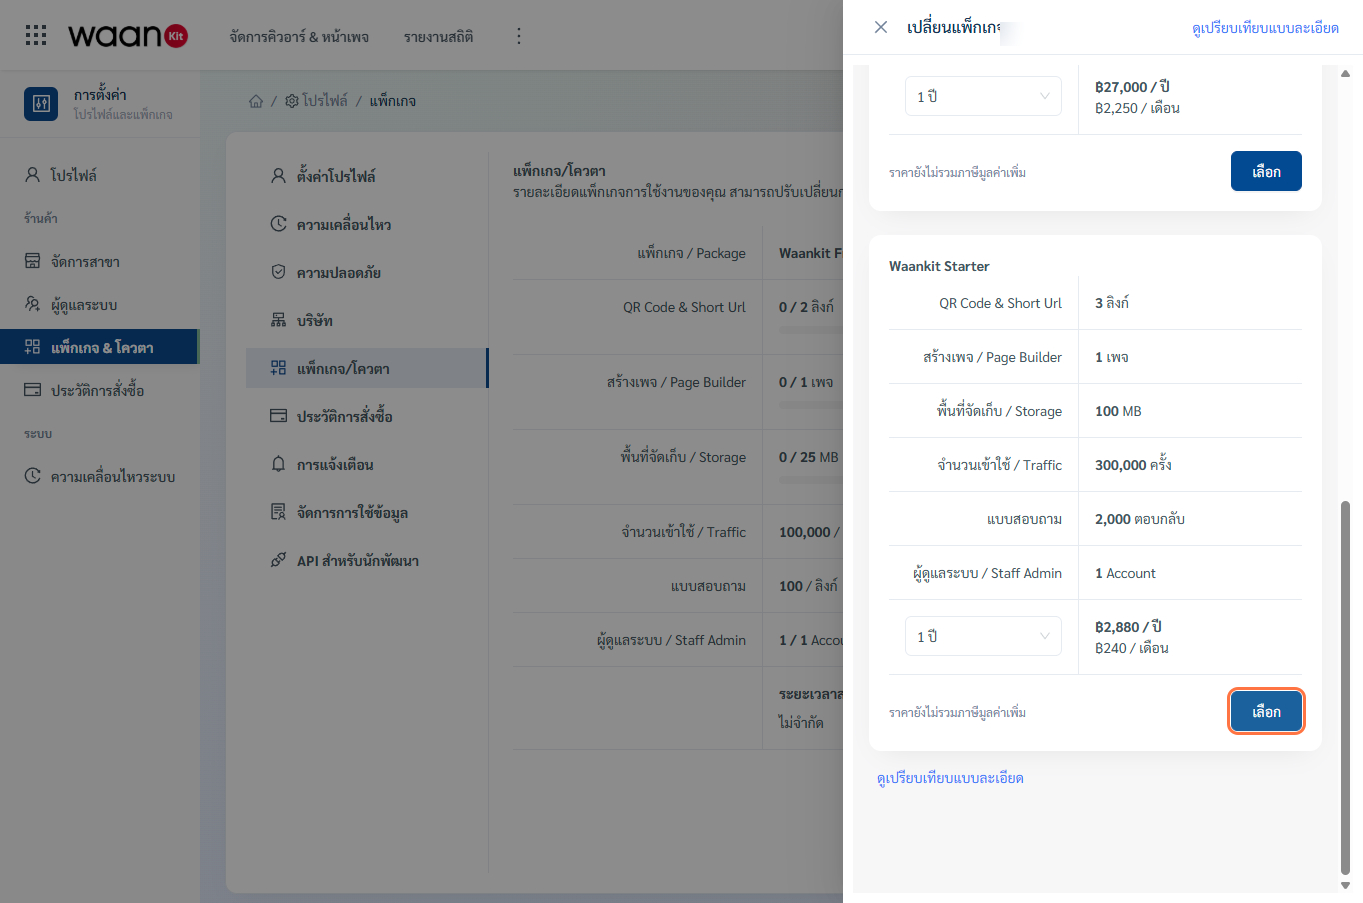
- Choose your billing cycle (Annual or Monthly) and click "Select".
Step 2: Provide Tax and Invoicing Information
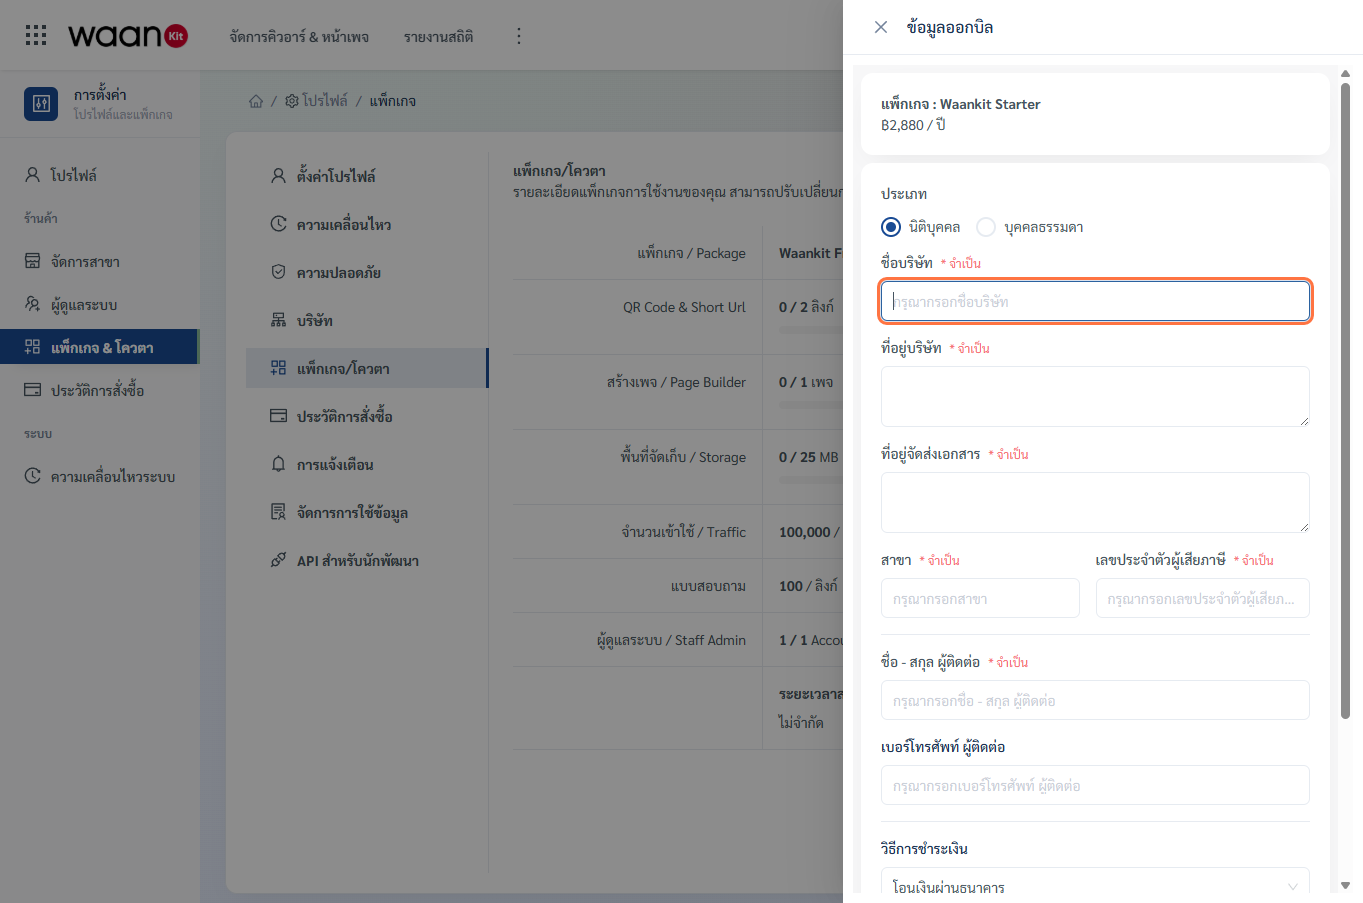
The "Billing Information" drawer will prompt for invoice entity details:
1. Corporate Entity
For businesses requiring formal VAT 7% corporate tax invoices:
- Fields: Company Name, Registered Address, Document Mailing Address, 13-digit Tax ID, Branch No., Contact Person, Phone Number.
2. Individual / Sole Proprietor
For freelancers and individual sole proprietors:
- Fields: Full Name, Address, Document Mailing Address, 13-digit Citizen Identification Number, Phone Number.
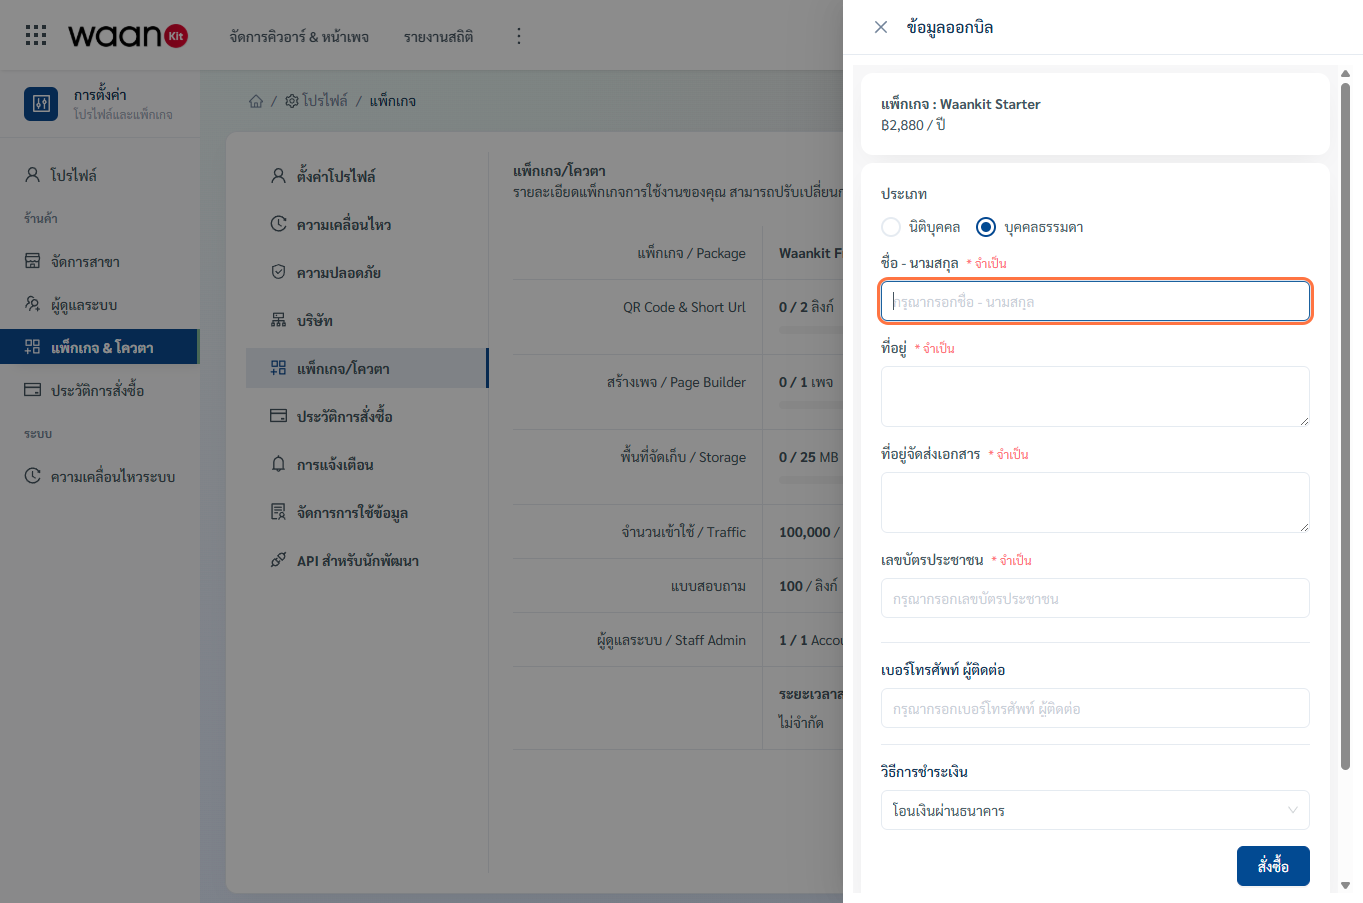
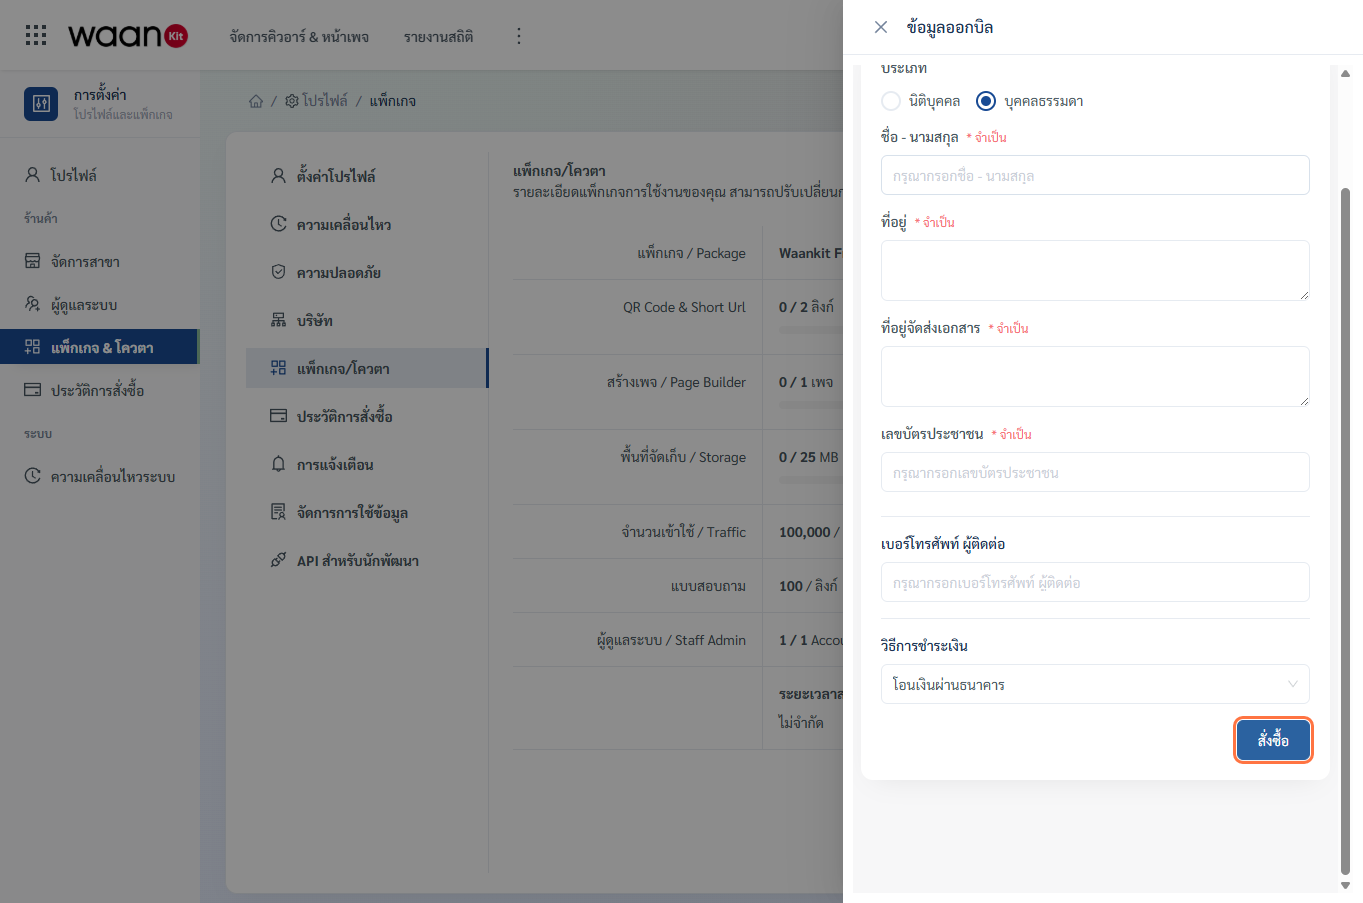
Step 3: Select Payment Method & Place Order
- Select your preferred payment method (e.g., Bank Transfer).
- Click the blue "Place Order" button.
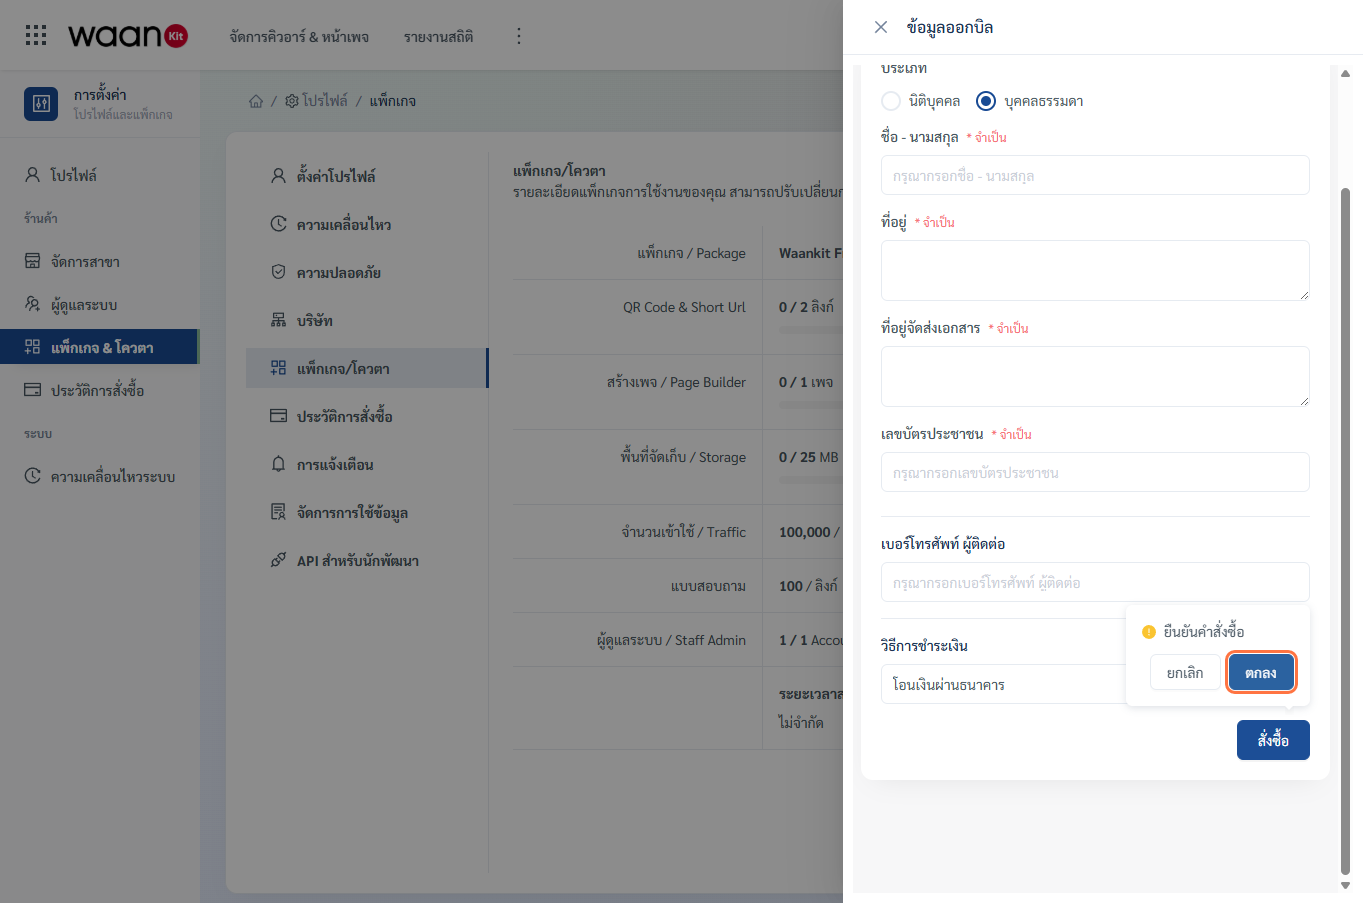
- A confirmation dialog will prompt "Confirm Order"; click "OK".
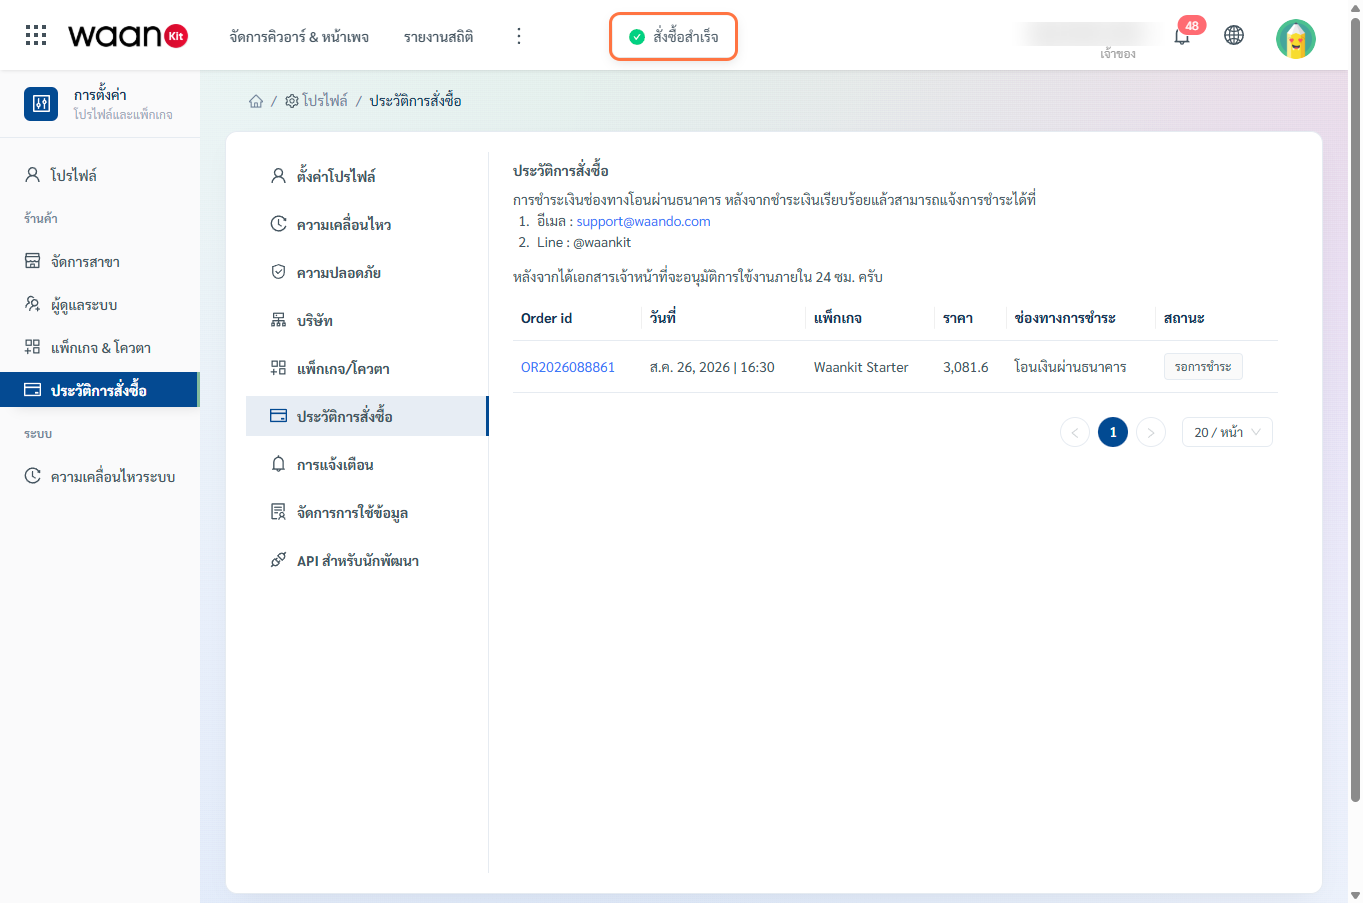
- A green toast notification will display "Order Successful", and you will be automatically redirected to your Order History.